Abduzeedo - graphic design | design inspiration | tutorials - |

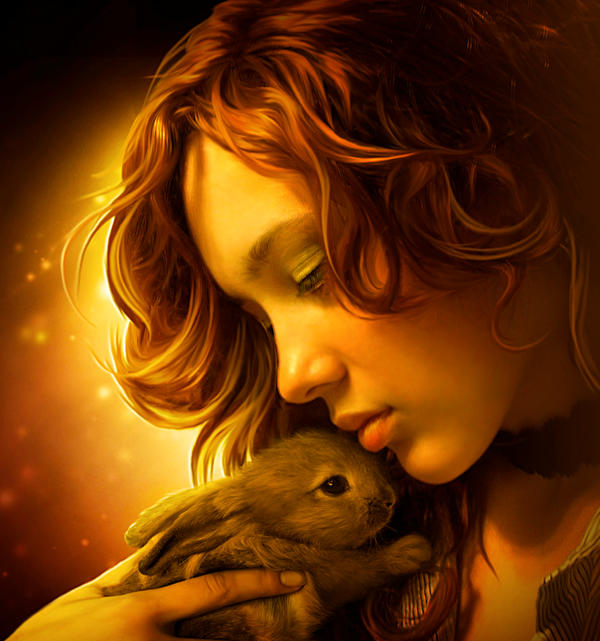
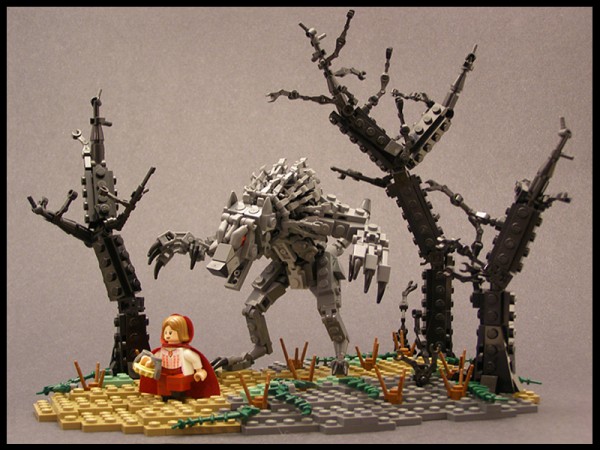
- Daily Inspiration #775
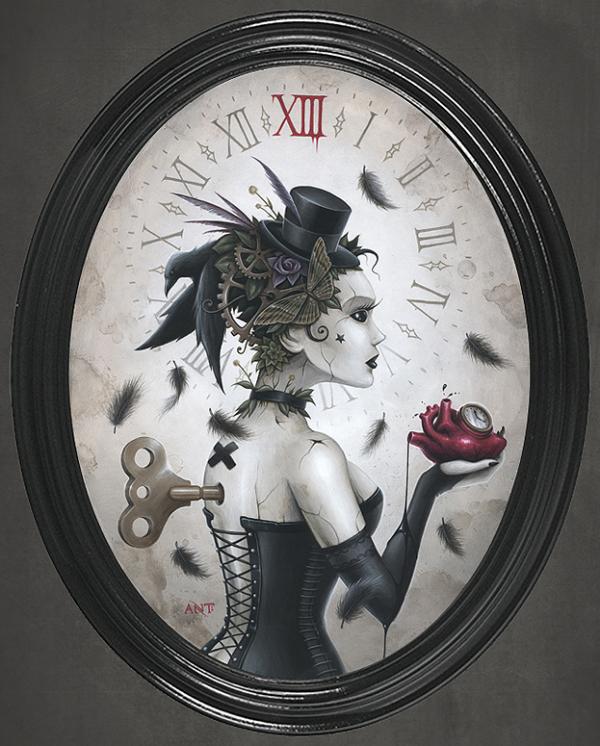
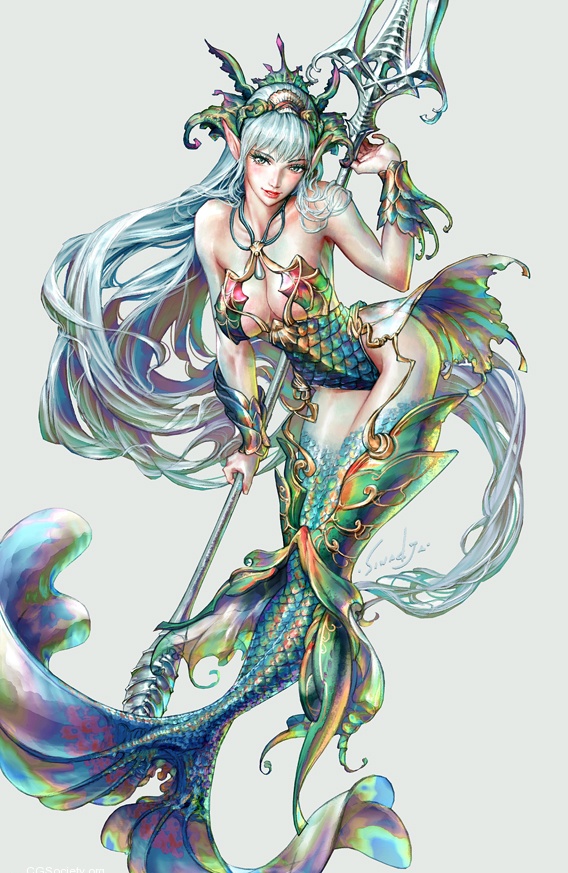
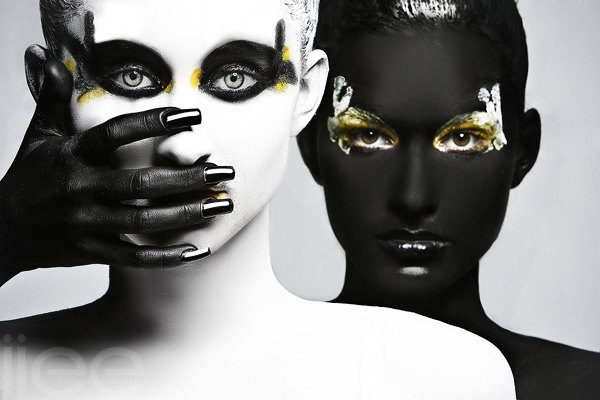
- Awesome Illustrations by Micah Burger
- Luminarium Exhibition #14: Energy
- Create a Stylish Retro Futuristic Poster in Photoshop
- The Perfect Office #80
| Posted: 21 Mar 2011 02:18 PM PDT
This post is part of our daily series of posts showing the most inspiring images selected by some of the Abduzeedo's writers and users. If you want to participate and share your graphic design inspiration, just send us, via email, the image with the link from where you found it, also use "Daily Inspiration" in the subject, and don't forget to send your Abduzeedo username; or via Twitter sending to http://twitter.com/abduzeedoIf possible use the HTML code: <p class="imgC"><a href="Link to the page you found the image"><img src="Link to the Image" /></a></p> Do you want to see all images from all Daily Inspirations? Check out http://daily.abduzeedo.comAdam
al b sure
Arthur Presser
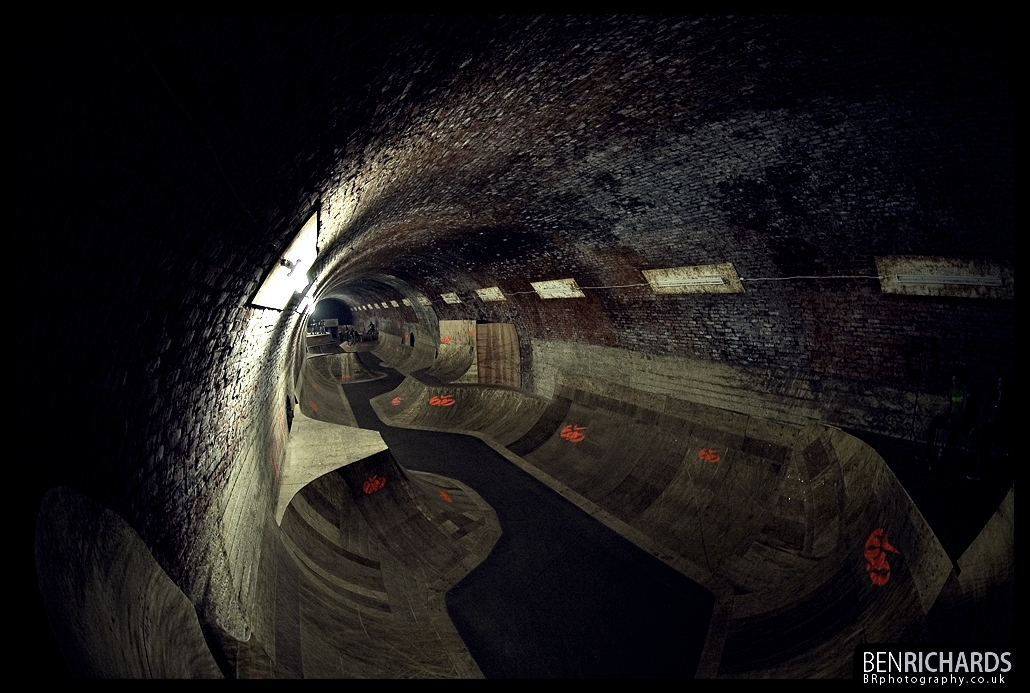
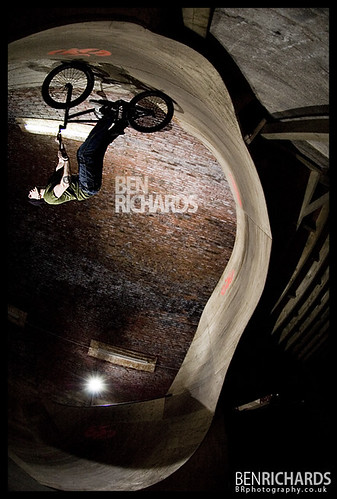
Ben Richards
Best Bookmarks
Coolvibe
Cuded
Eugene Kim
Fabiano
Fabio
fksd
Gisele
HdK
Jean Belmonte
Koning
114.psd Type from Emilio Gomariz on Vimeo. Leonid Strukov
Meng To
Moritz Resl
nenunoNewyorkiz
rafaela_prado
Sergey Fregezechen Vlasov
shelbywhite
Tukoria
Via TwitterSend your suggestions via Twitter to http://twitter.com/abduzeedo using #abdz in the end of the tweet. @daniel_nelson
@tiagobenevides
|
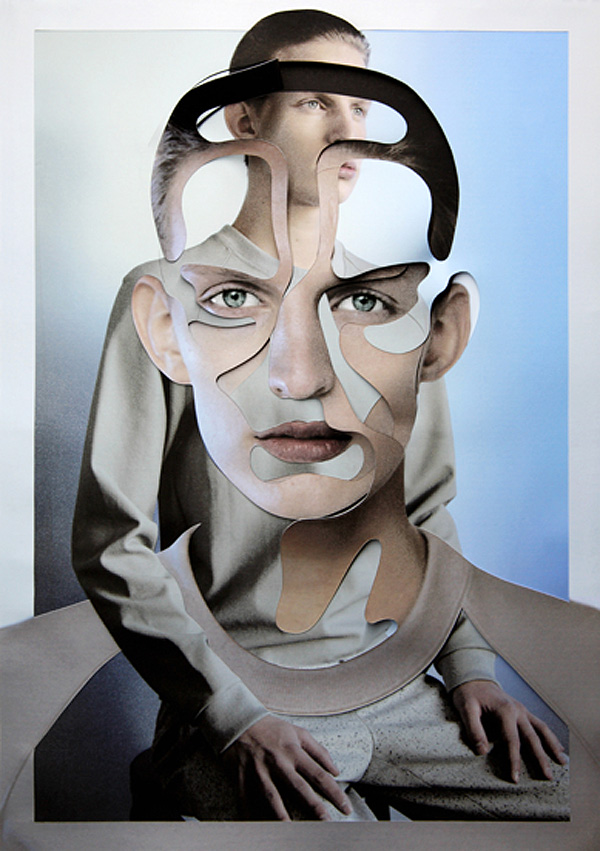
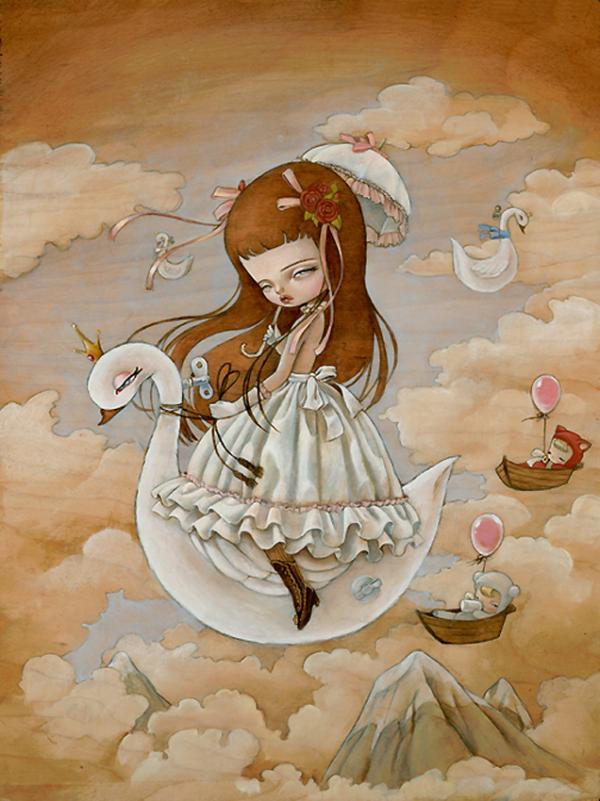
| Awesome Illustrations by Micah Burger Posted: 21 Mar 2011 07:24 AM PDT
Micah Linderberger also known as Micah Burger, is a hybrid designer focused on web interface and illustrations. Her illustrations are very creative and sometimes intriguing with a great style and great use of colors. Check it out!<!--break--> For more from Micah, visit her website - micahburger.com | flickr - www.flickr.com/photos/micahberger/ | dribble - dribbble.com/micahburger v About the authorHi there! I'm Paulo Canabarro, 25 year old web designer from Brazil currently living in Providence RI, USA. I'm truly passionate about design of all kinds. Finding and sharing inspiration has become part of my life. If you have any suggestions or requests just get @ me - pvpcanabarro@gmail.com For some cool stuff make sure to Follow me on twitter! Sponsored Links:
|
| Luminarium Exhibition #14: Energy Posted: 21 Mar 2011 06:55 AM PDT
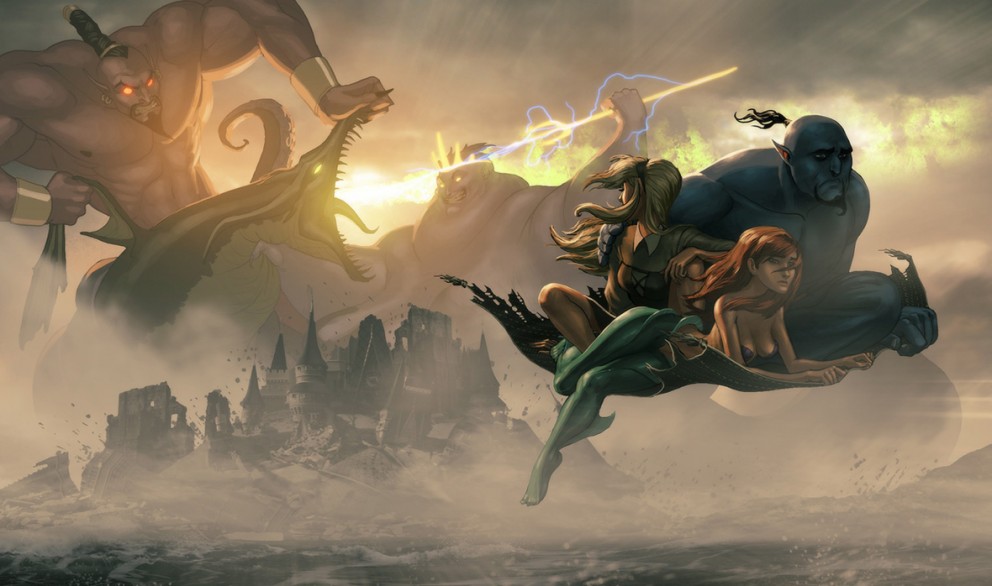
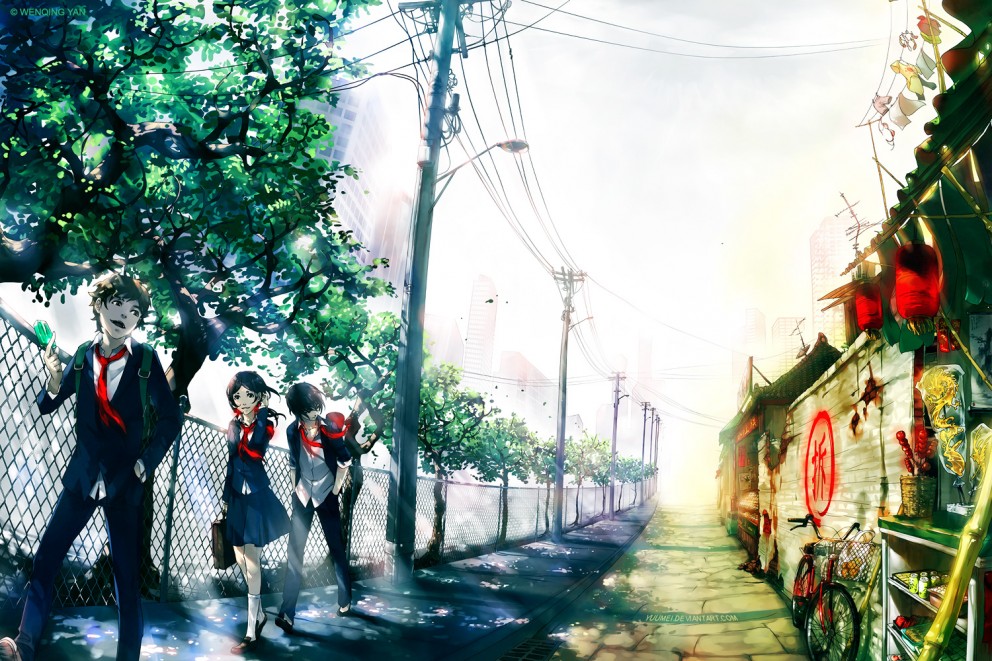
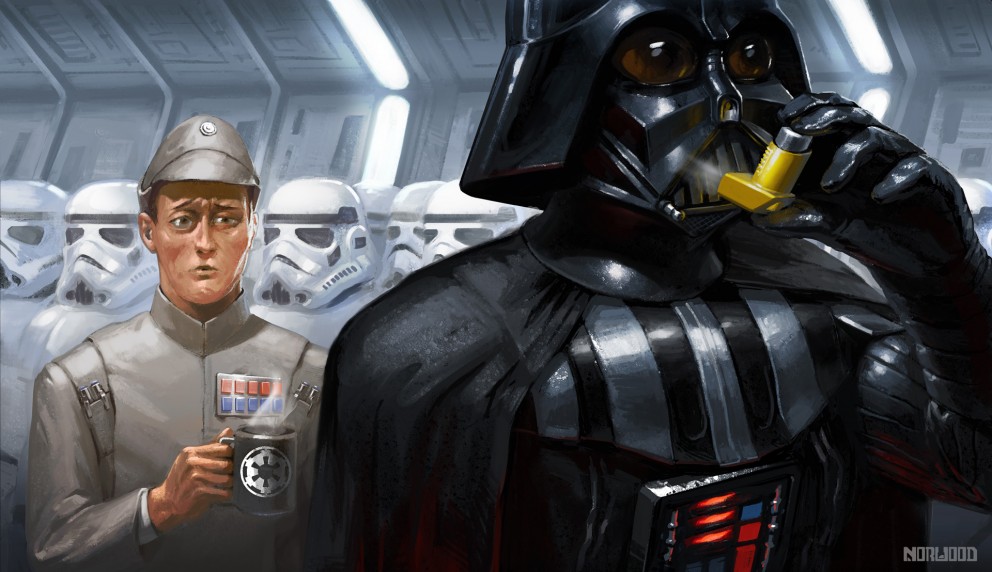
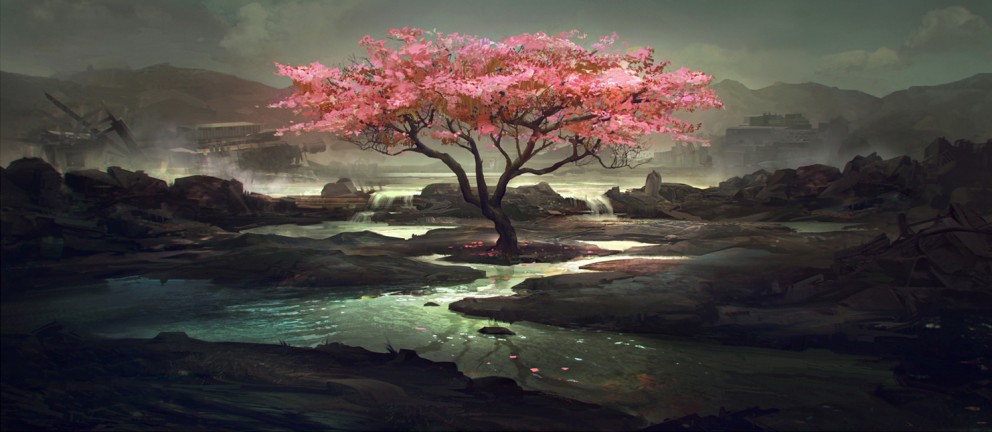
The Luminarium is back with their newest exhibition. It is their 14th issue and this time the main focus is put onto the element of Energy. "Energy is everywhere""The Luminarium presents our 14th exhibit and it is one of our biggest-an exhibit our artists have attacked with energy. Sound, movement, and life, they all have one thing in common...energy. Energy can be found in some of the strangest and subtle forms, from right here on our very own planet to the deep areas of space. Energy is everywhere. We may not always be looking for it or see it with our eyes, but hidden beneath what we cannot see is something powerful and once it takes over you, there's no stopping it. It's up to you to harness that energy and use it." Visit the Luminarium Website The Luminarium Exhibition #14: EnergyI've selected some of my favourite artwork of this exhibit. Find more designs and music on their website.
Visit the Luminarium Website |
| Create a Stylish Retro Futuristic Poster in Photoshop Posted: 21 Mar 2011 12:45 AM PDT
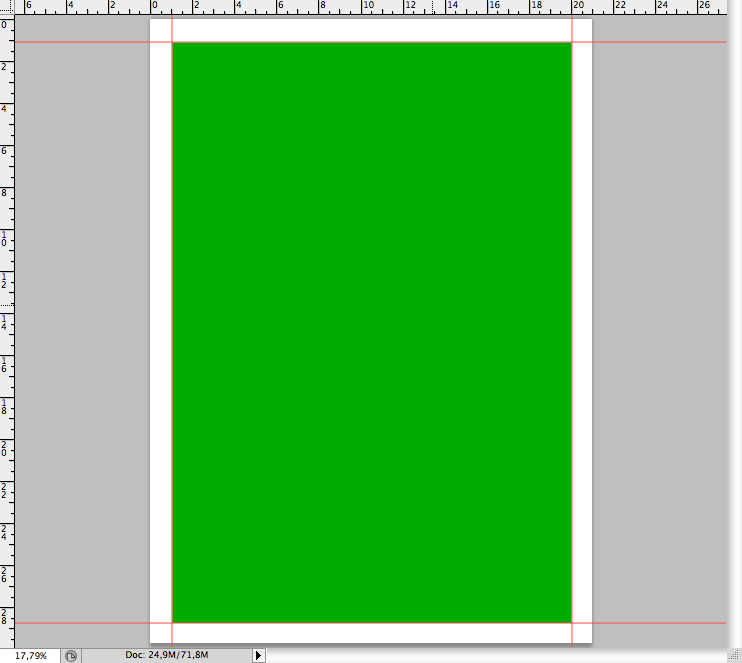
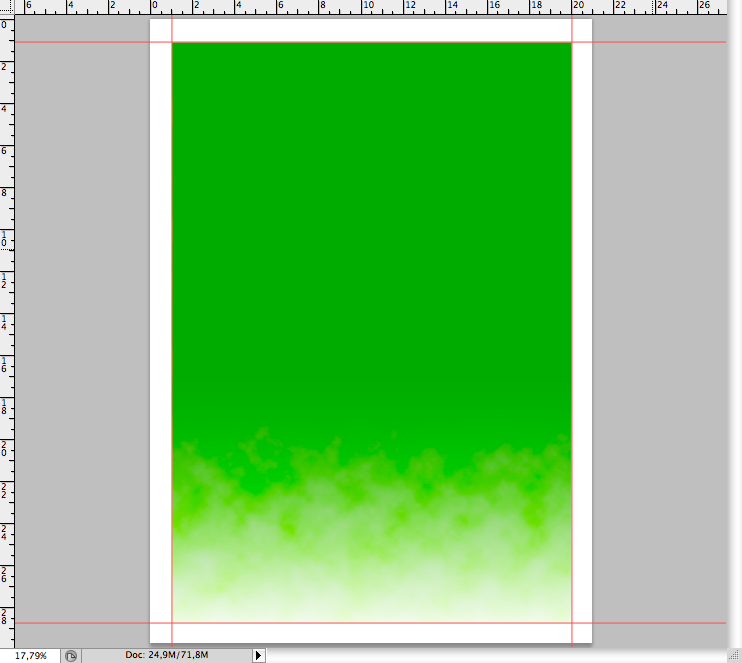
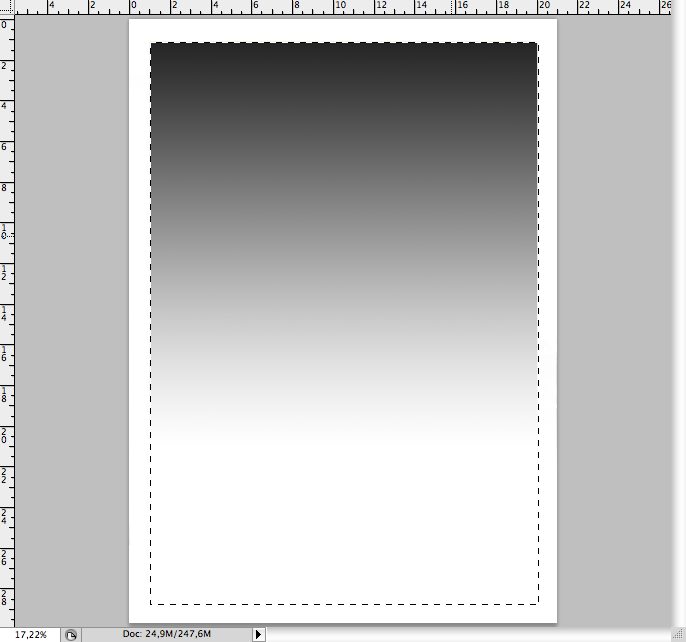
It has been a good time since I did my last photoshop tutorial, so for this week I decided to take a look at some old works I did when I were more into photoshop and just found this awesome one. However, when I opened the orinal PSD. file I found many things I wouldn't do nowadays, so I decided to try to recreate using my reent methods. This a experience I would recommend to anyone: get an old design and try to redo it.The following tutorial is pretty easy, it's more for beginners, but if you are a advanced user you may find some interesting tricks. So stick together and let's start this week tutorial. Step 1First of all, open Adobe Photoshop and create a A4 canvas ( 21 x 29,7 cm or 8,26 x 11,69 inches), set to 300 dpi, even if you work only with web it's good to try higher resolutions. First place some rulers (ctrl + R / command + R) with a distance of 1 cm (2,54 inches) from the borders, then create on the center this green rectangle using the retangle tool (U) .
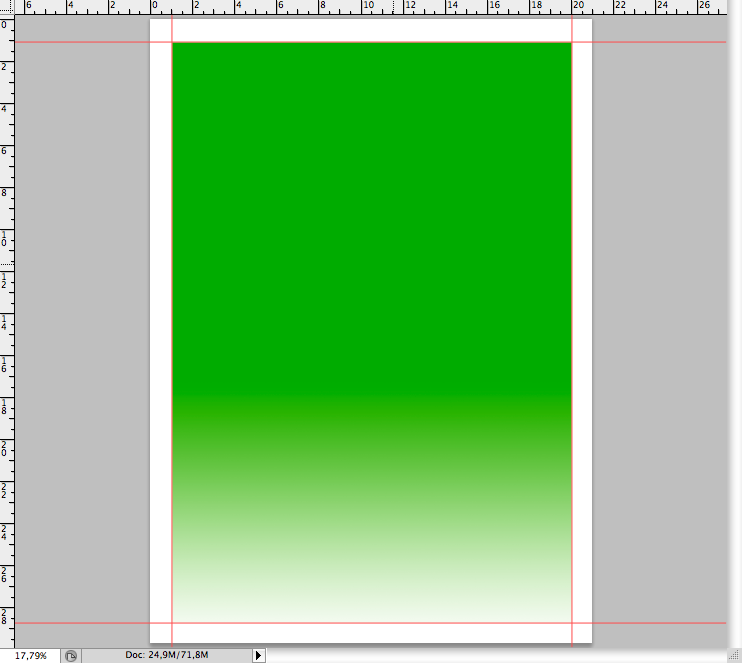
Now create a layer mask, select it and using the linear gradient tool (G) create this light gradient on the bottom.
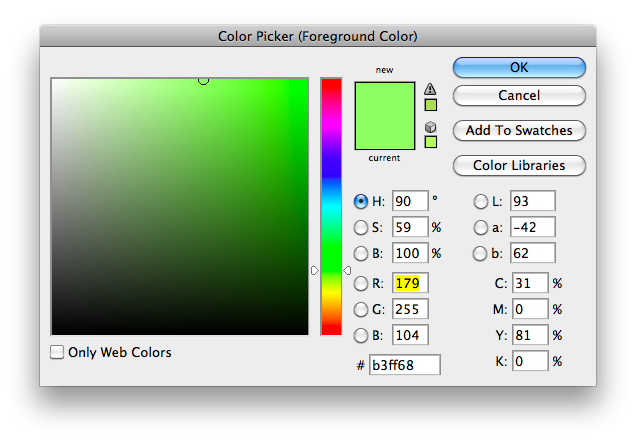
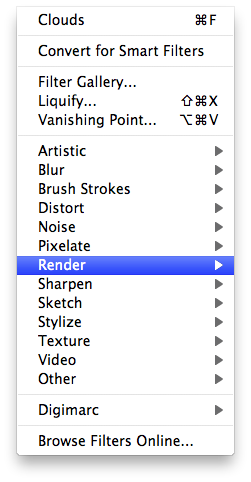
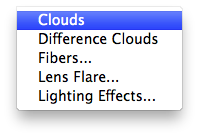
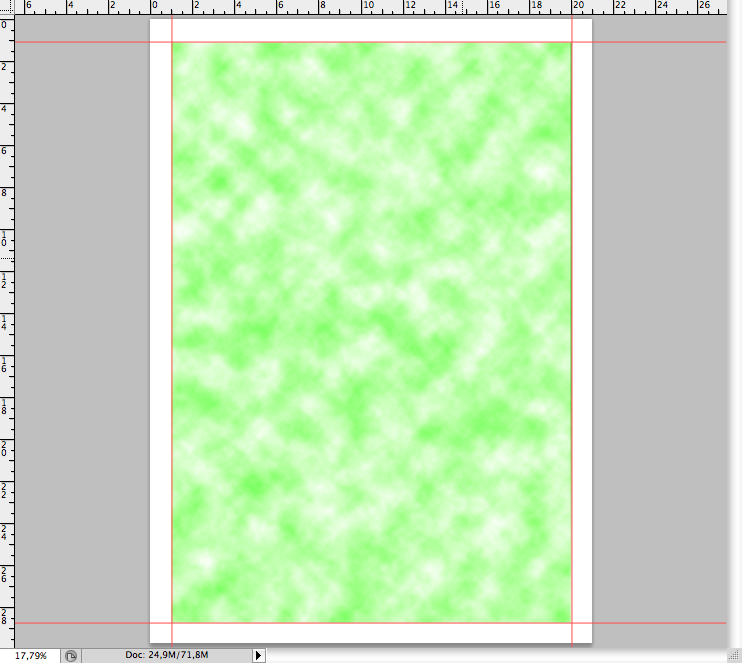
One thing most people forget when trying effects with clouds is that the colors used on it are the foreground and the background color, so set on of them white and the other light green like the image above (R:179 G:255 B:104). Then go to Filter > Render > Clouds , you will get something like these.
Access the blending modes panel and choose the one called color burn, you should get this effect.
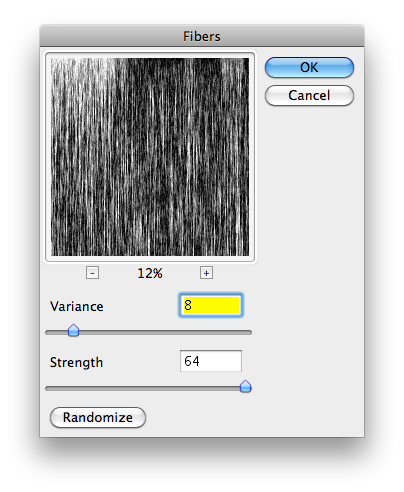
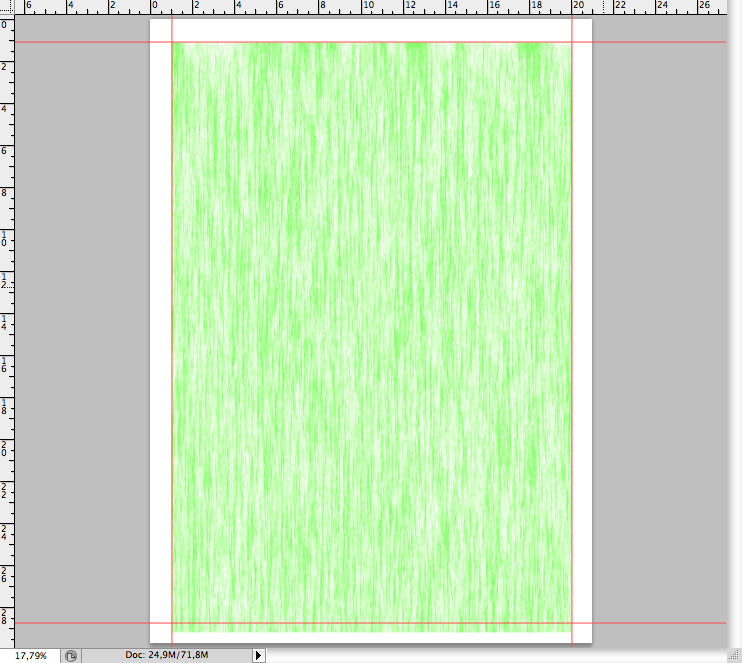
Create a new layer ( ctrl + alt + shift + N / command + alt + shift + N ) and repeat the procedure, but after generating the clouds, go to Filter > Render > Fibers , set Variance to 8 and Strenght to 64, like the image bellow
Again, access the blending options panel and choose the option called color burn.
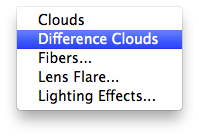
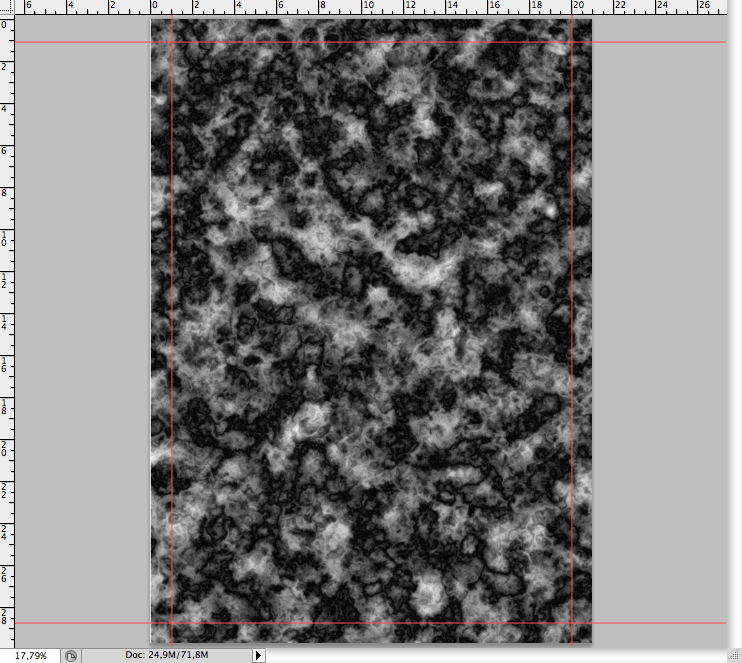
Repeat the procedure of creating clouds, use black and white clors this time for the foreground and background, after it go to Filter > Render > Difference clouds, hit this effect like 6 times, use the shortcut ctrl + F / command + F, you should get something like these.
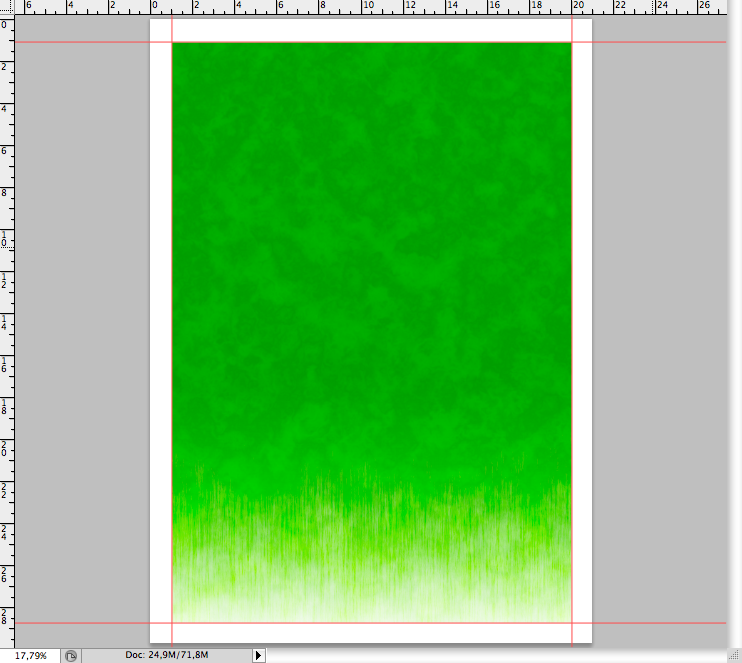
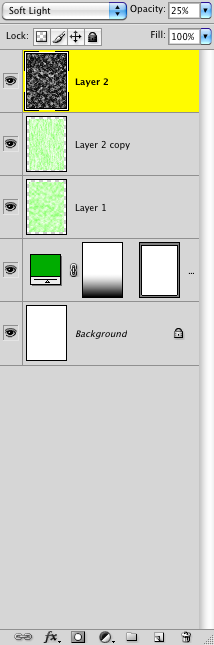
Set Opacity to 25% and choose the blending mode called soft light. Don't mees with the layers, create a group (ctrl + G / command + G) and place them like the sample bellow.
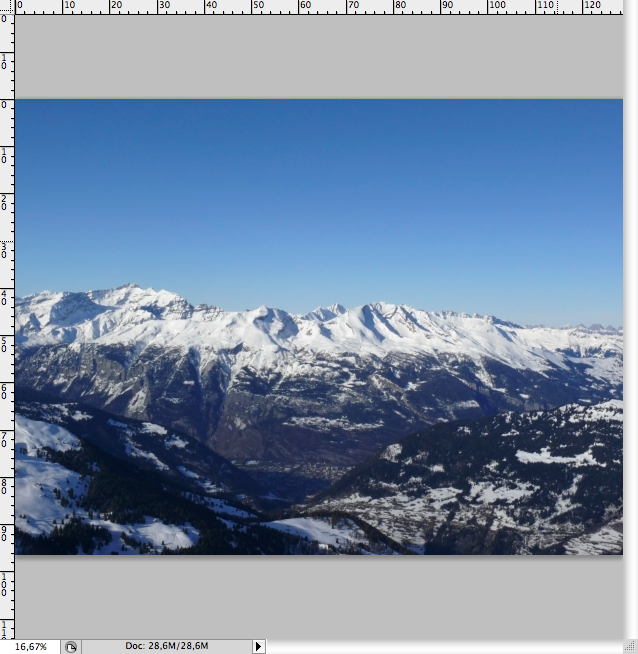
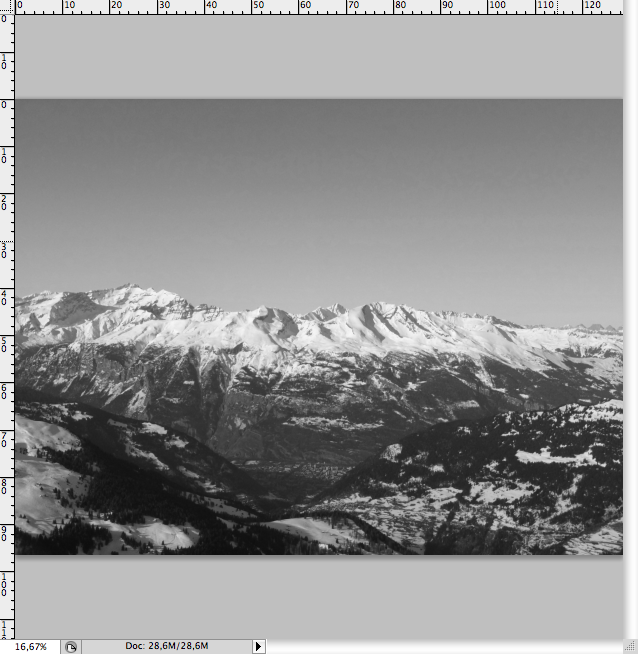
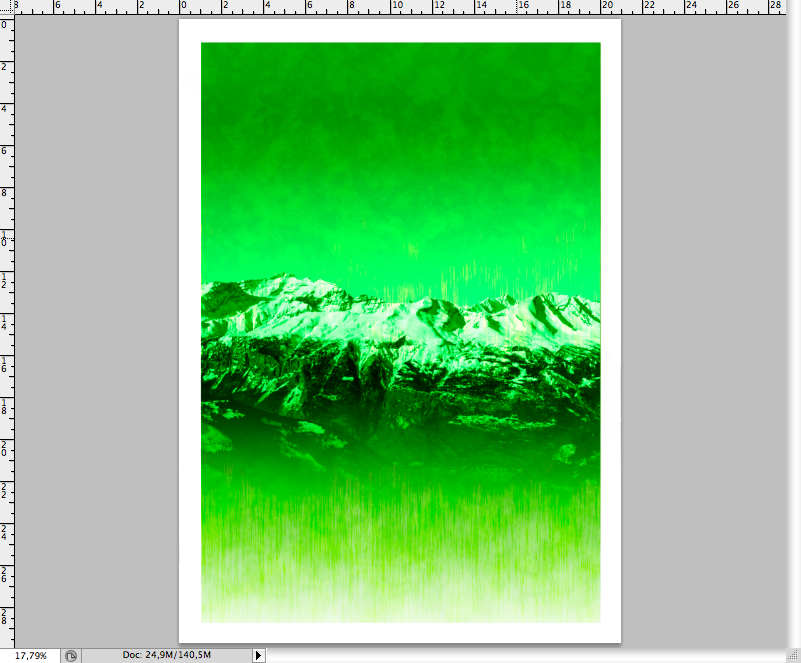
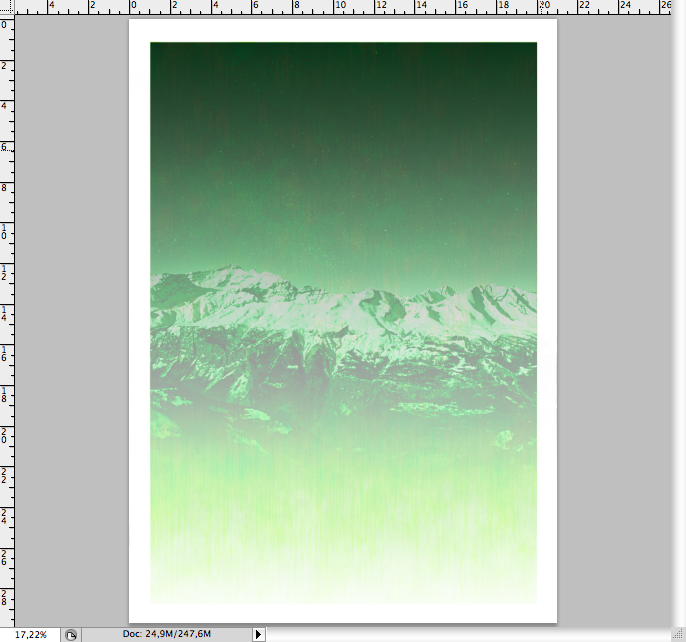
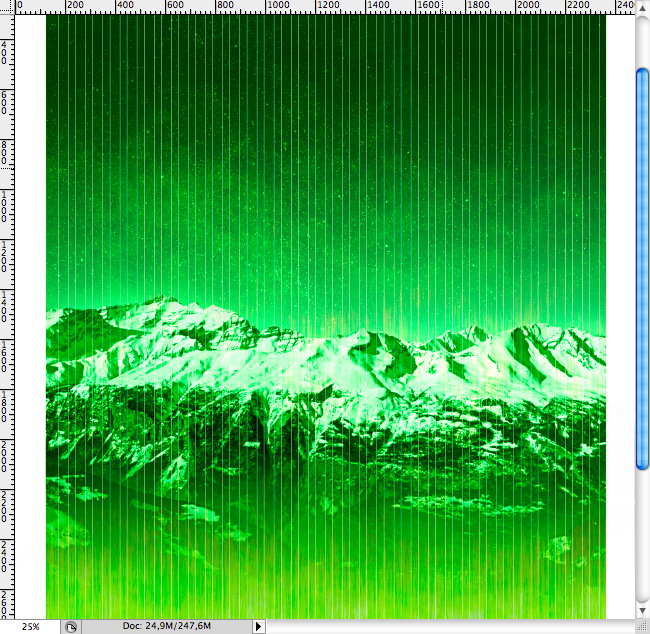
Step 2Let's add a landscape to it, I really found mountais would a nice thing, so you can download it at CG Textures. Open the image in PS, first let's desaturate the image (ctrl + shift + U / command + shift + U).
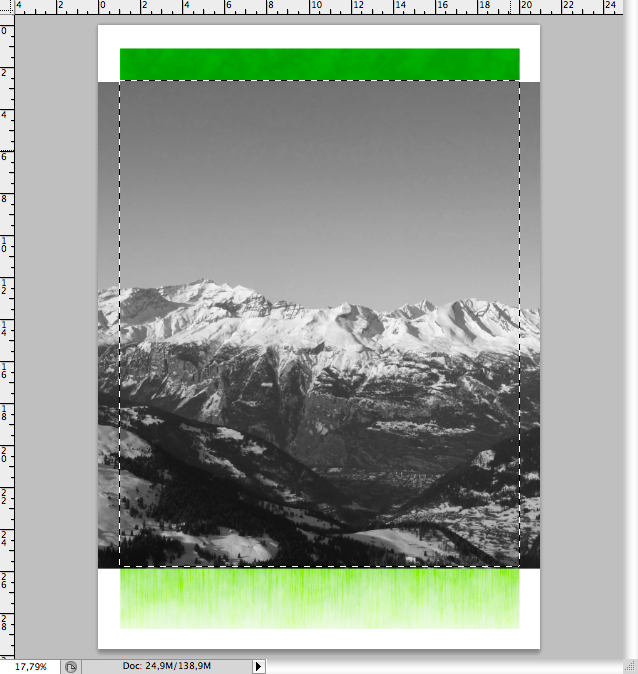
Place it on the canvas, select the green rectangle layer with ctrl + click / command click to make this selection, then select the mountain layer and press ctrl + J / command + J to crop the image.
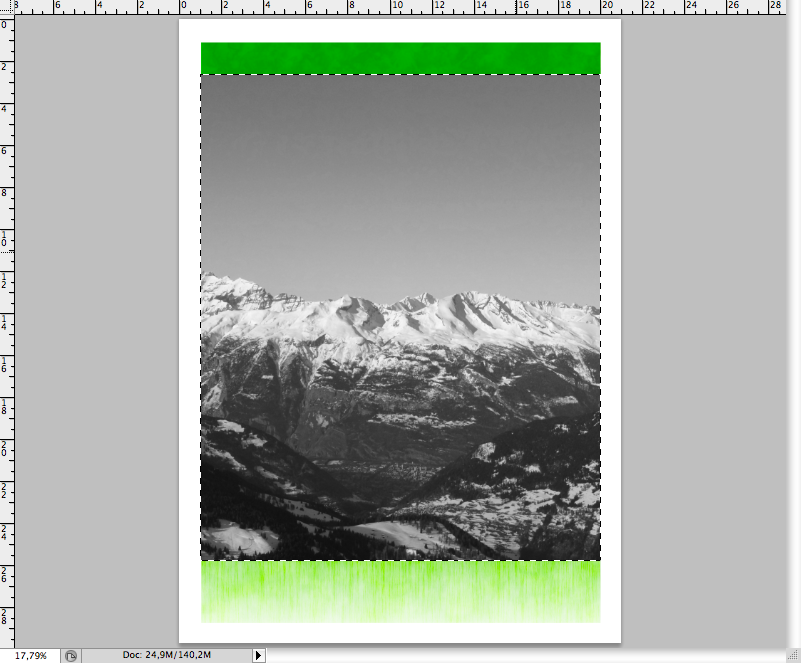
Now go to the blending modes panel and choose the option called Linear light.
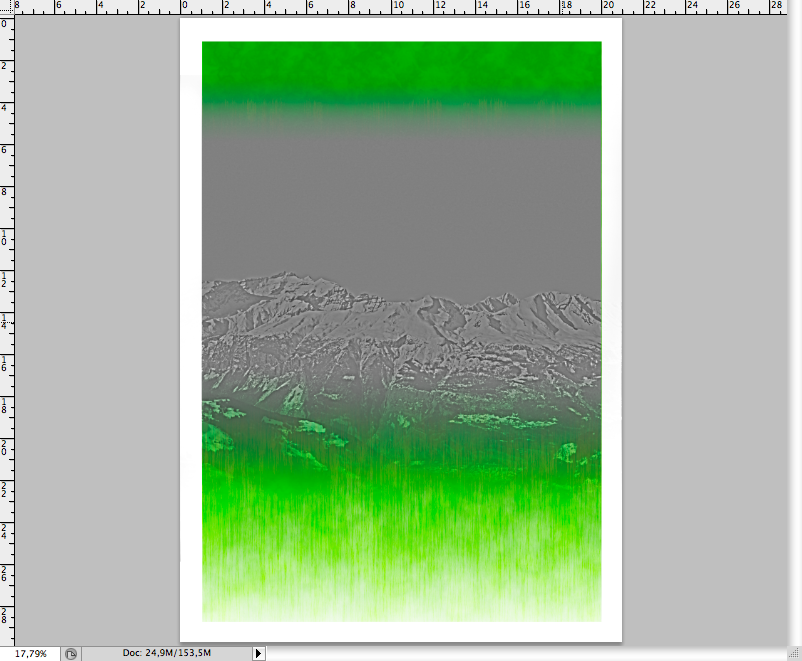
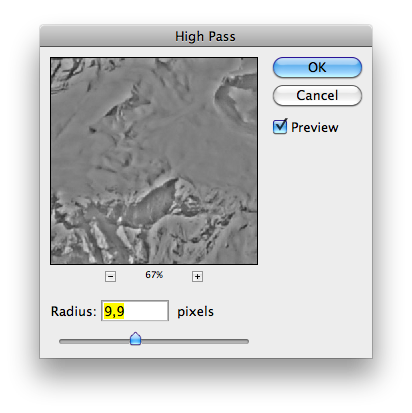
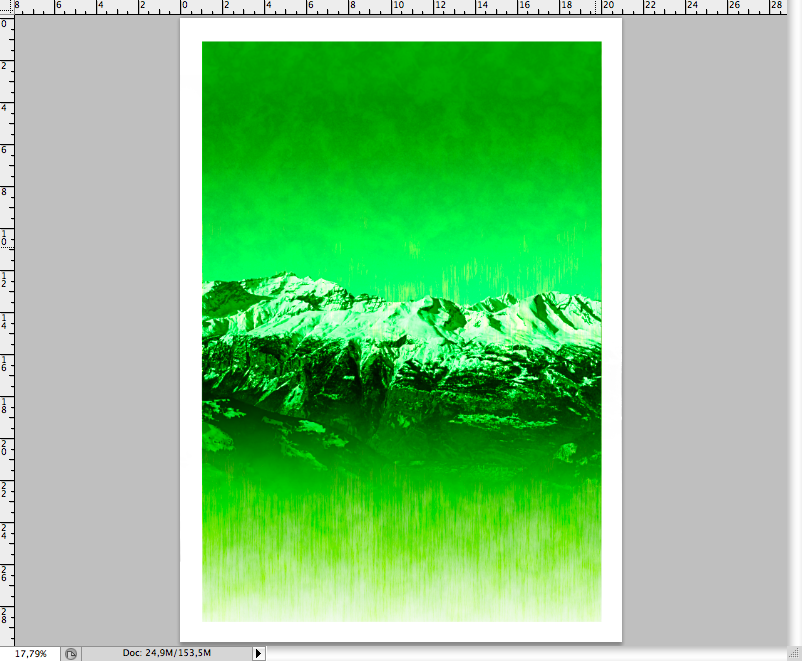
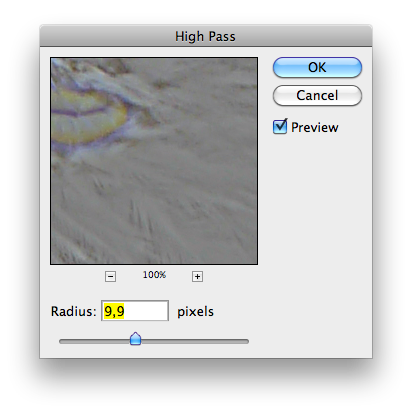
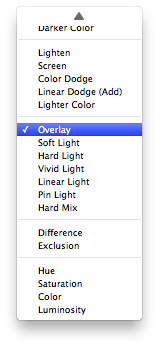
Duplicate this layer (ctrl + J / command + J) then go to Filter > Other > High Pass , set radius to 9,9 pixels. Access the blending mode panel and choose the option called Overlay.
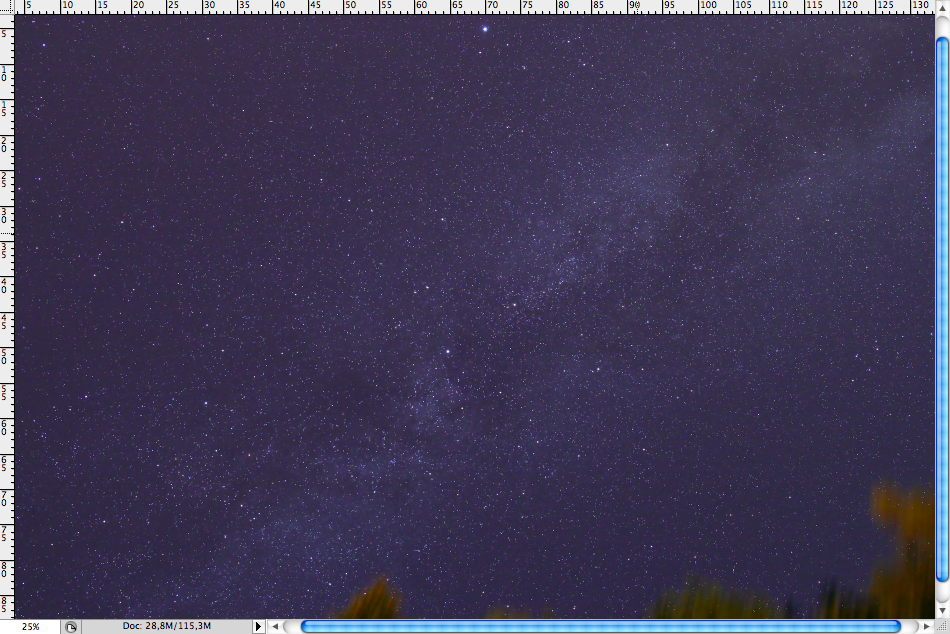
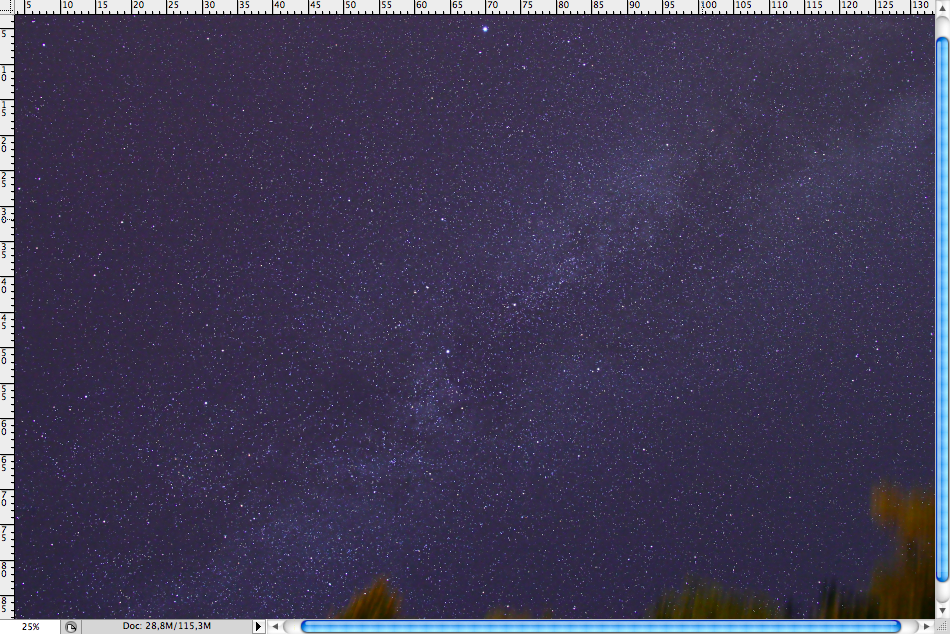
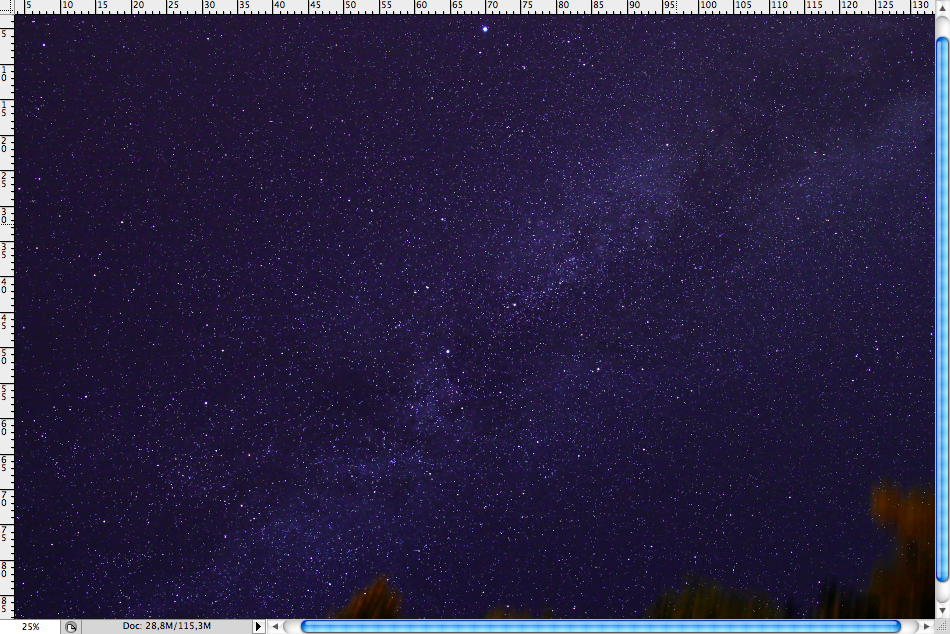
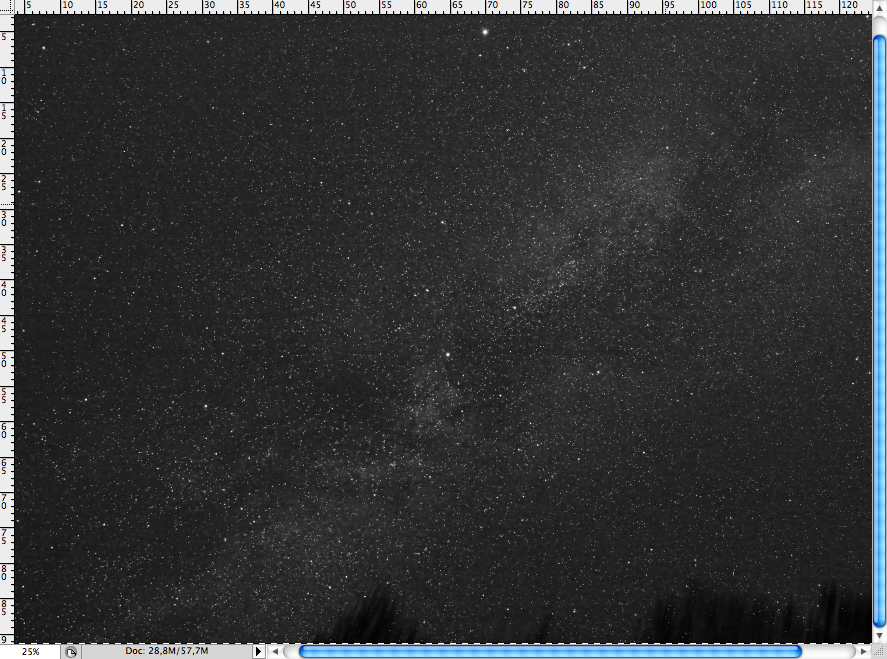
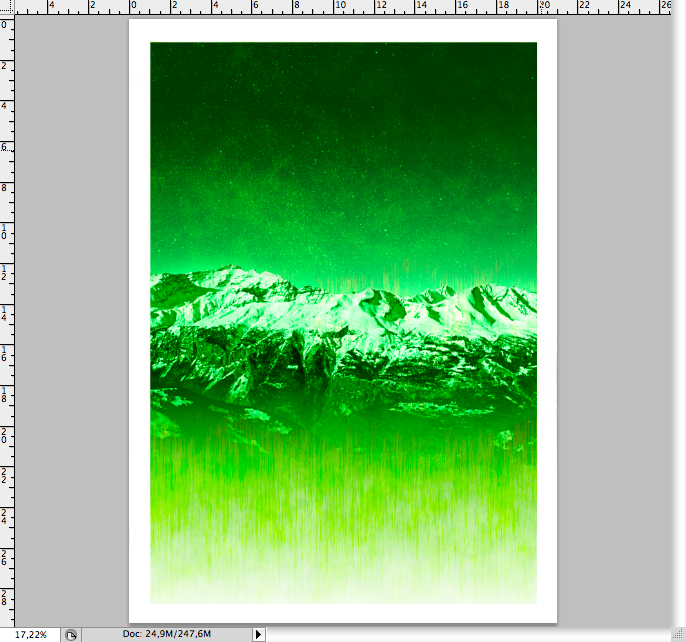
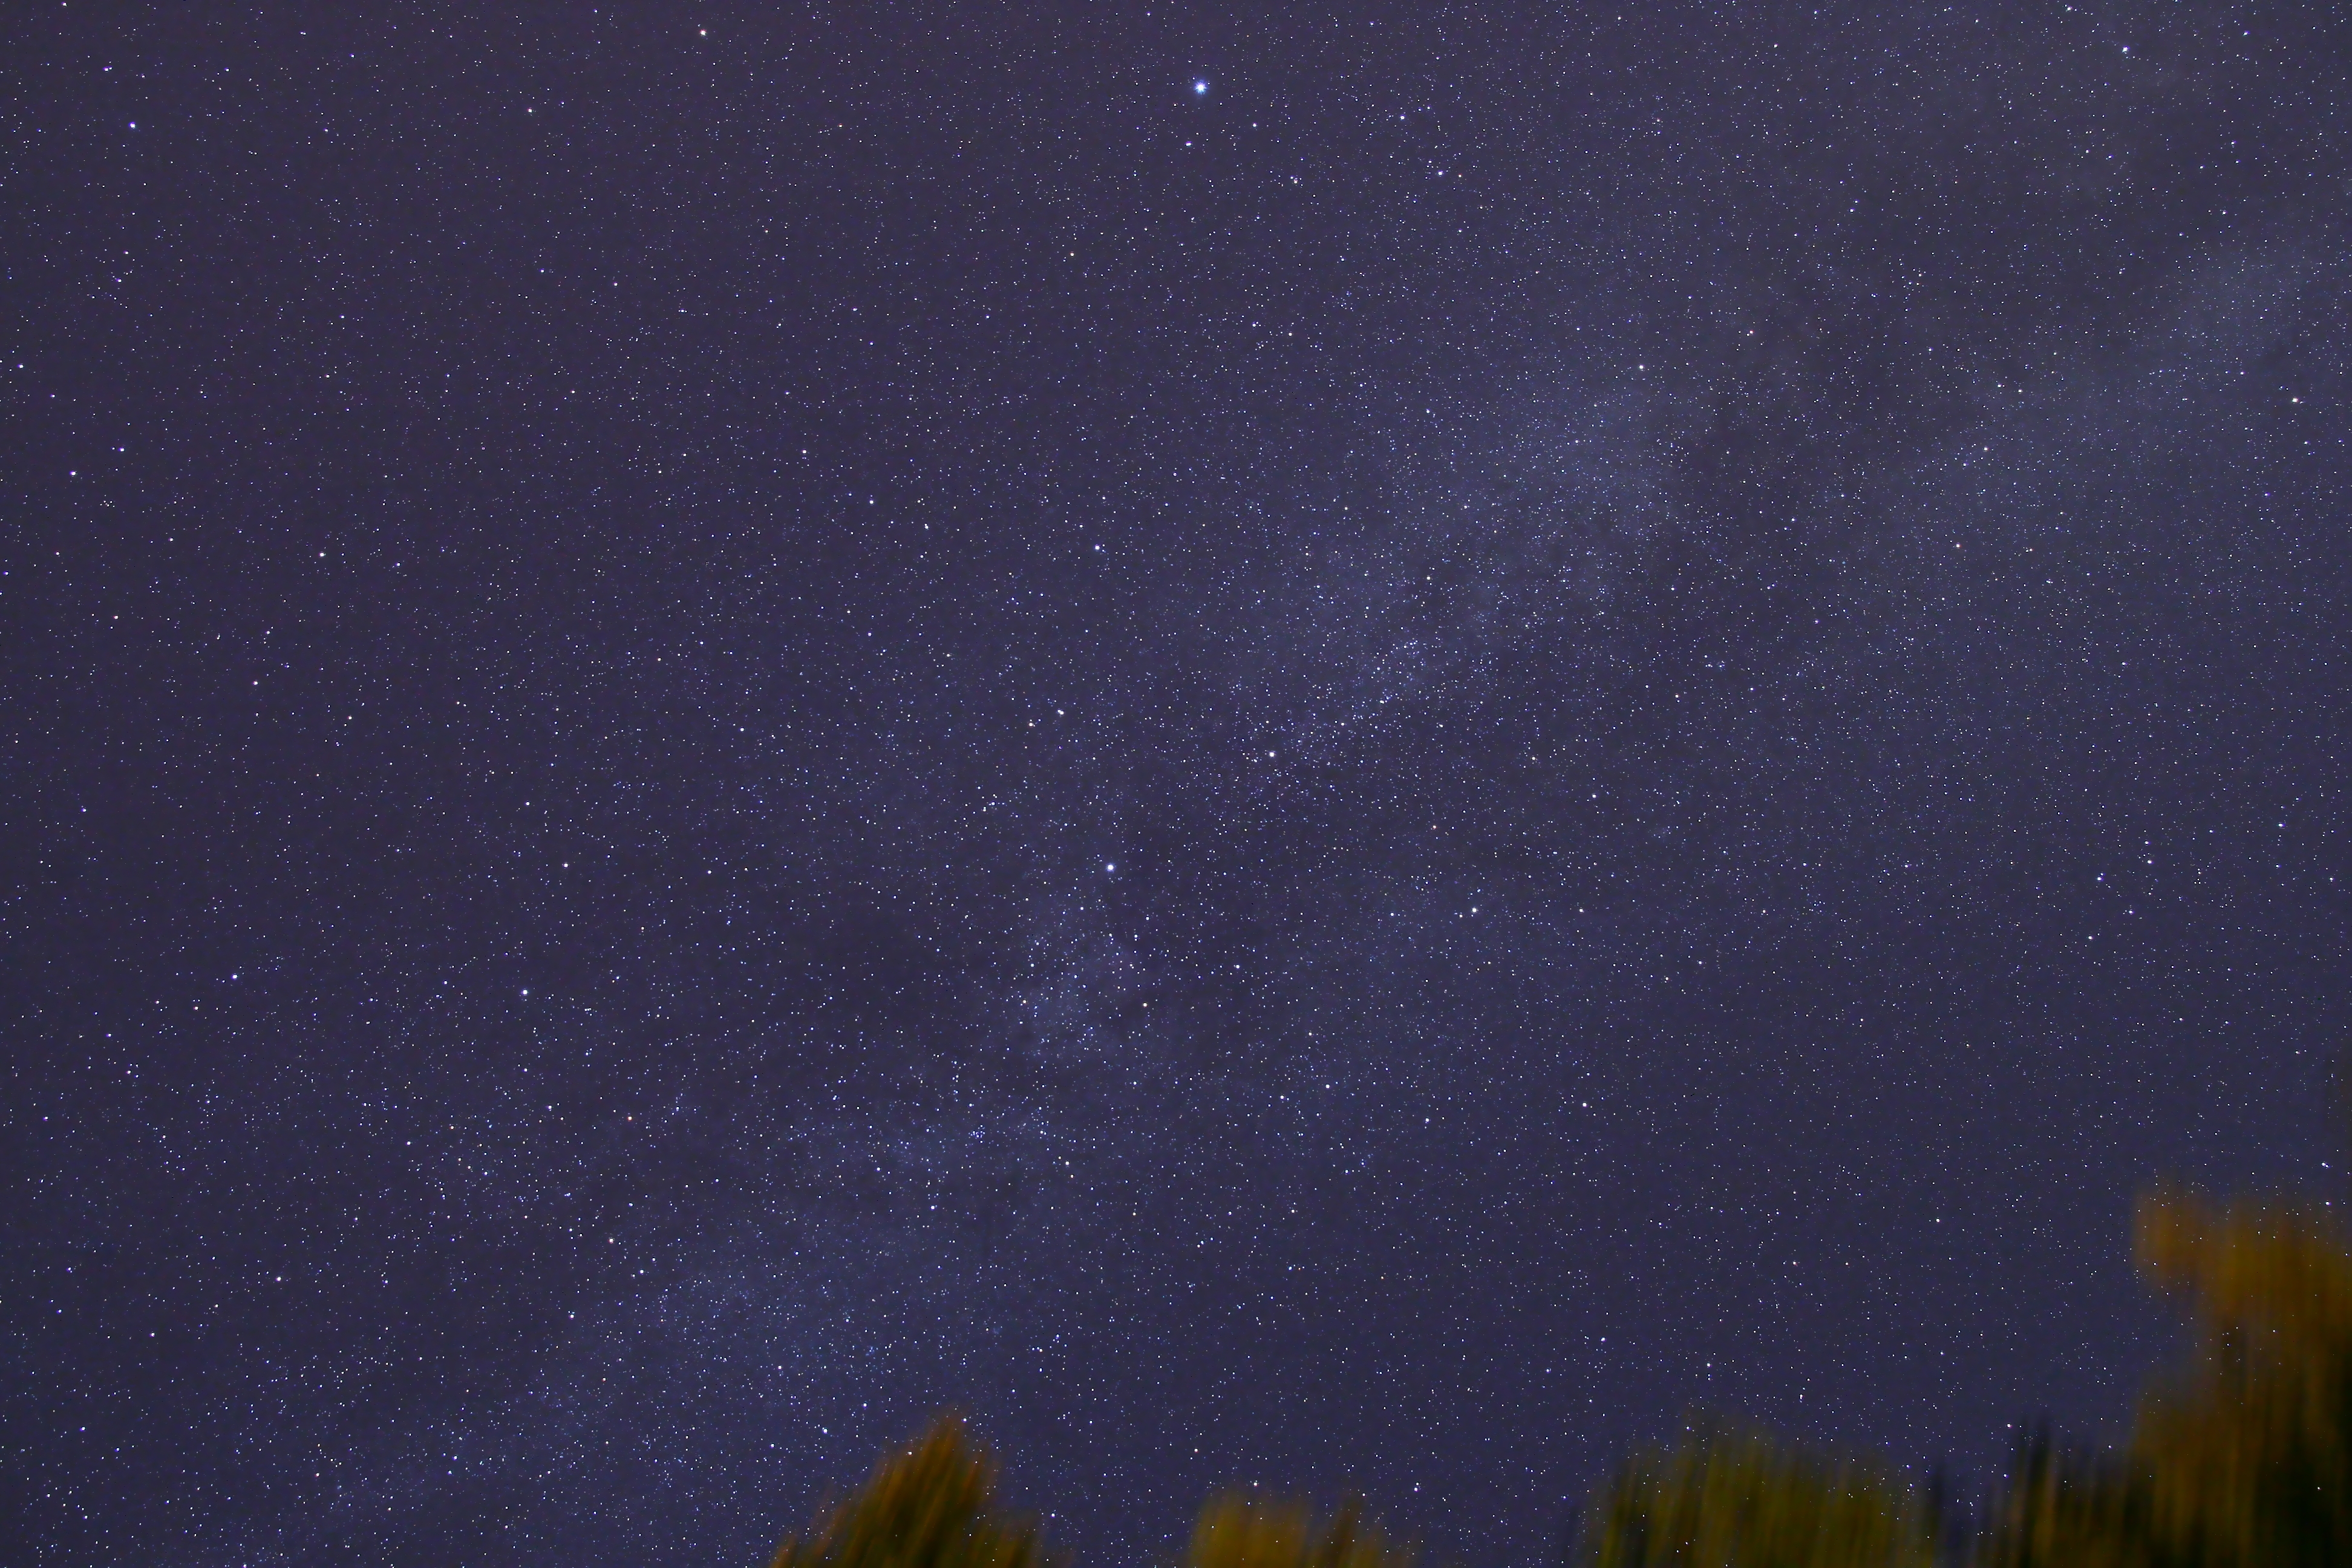
Step 3I don't remeber where exactly I got this starry night picture, but it's free to use in non commercial projects, so you can download it directly here. Open this image in PS and let's repeat the procedure of using the high pass filter like we've done on the mountains on step 2.
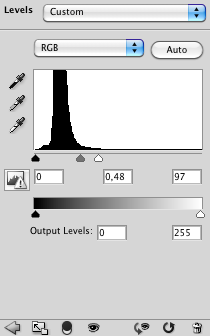
Let's increase the intensity of this stars, so duplicate the original layer ( ctrl + J / command + J ) and use the blending mode called Overlay. Then let's desaturate it ( ctrl + shift U / command + shift + U ). A good trick to make them pop of the photo is to use the levels panel, set it like the one bellow.
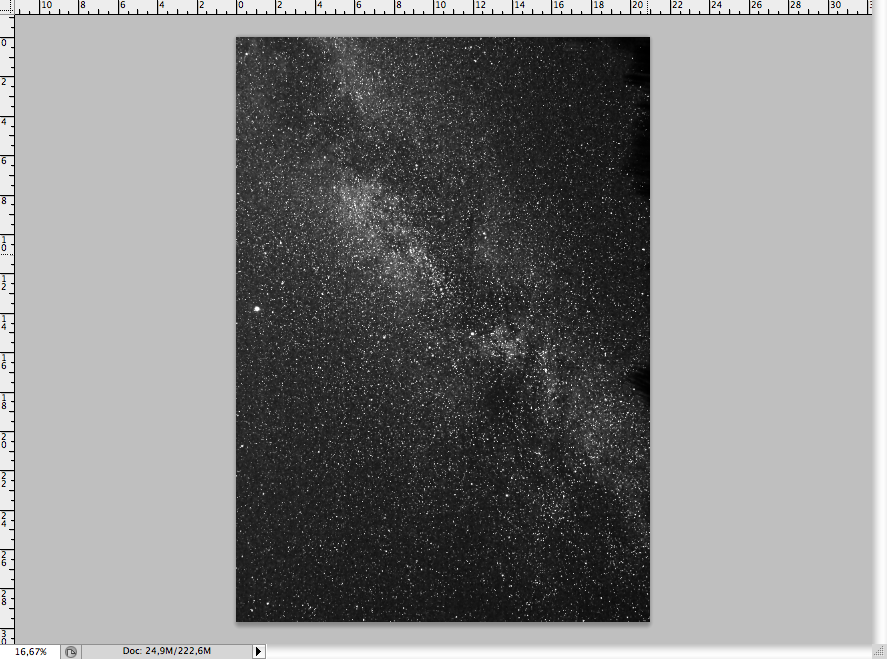
Paste the final image on the canvas we're using, go to the blending modes panel and choose Linear light. Make a layer mask on this layer and make it fit his area of the canvas, this should take sometime since the better way to get a good result on the gradient is using the brush tool (B) on the mask.
Use again the selection of the green square we did on the beginning by clicking on the layer with ctrl / command pressed. Make a new layer ( ctrl + alt + shift + N / command + alt + shift + N ) and create a metallic gradient using the gradient tool (G). Set Opacity to 70% and choose the blending mode called Soft light.
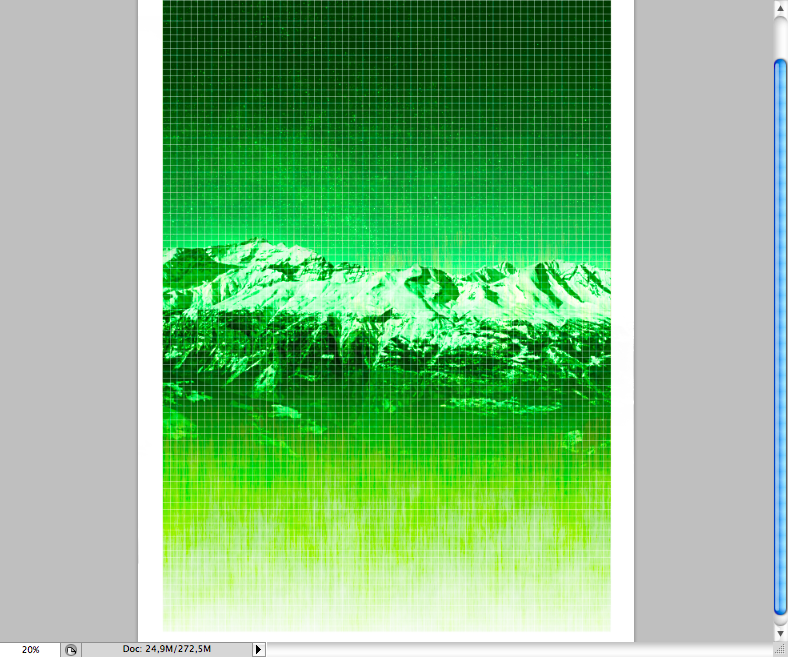
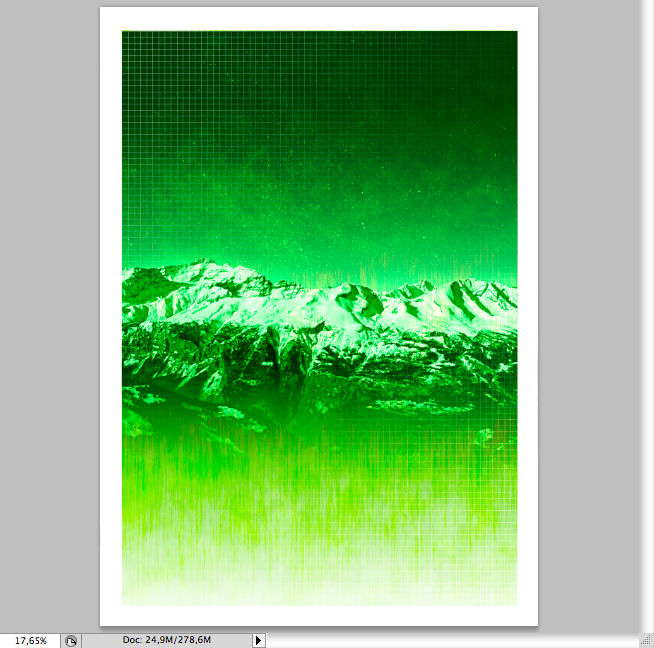
Step 4Now let's create the background grid, some of you will say there are easier ways to do it using Adobe illustrator, but we're in photoshop so let's do on it. Using the retangle tool (U) create this white and really thin line, it should have at least 1,5 pixels, zoom to (ctrl + / command + ) to set it correctly using the transform (ctrl + T / command + T).
Duplicate it many times using the move tool (V) + alt.
I think most of you are familiar with these align tools, when you use the move tool (V) they will appear on the top, bellow the menu, select all the layers withe lines and choose the option called Distribute horizontal center (the one on middle of the picture bellow). This will make the space between them equal. Merge all the line layers after it ( ctrl + E / command + E )
Duplicate the horizontal lines using the move tool (V) + alt then using the transform (ctrl + T / command + T) and rotate it 180 degrees. You should get a grid like these.
Make a group with the layers or just merge them all in one single layer, then make a layer mask on the group or layer, choose the gradient called reflected gradient, use it on the mask on the diagonal direction.
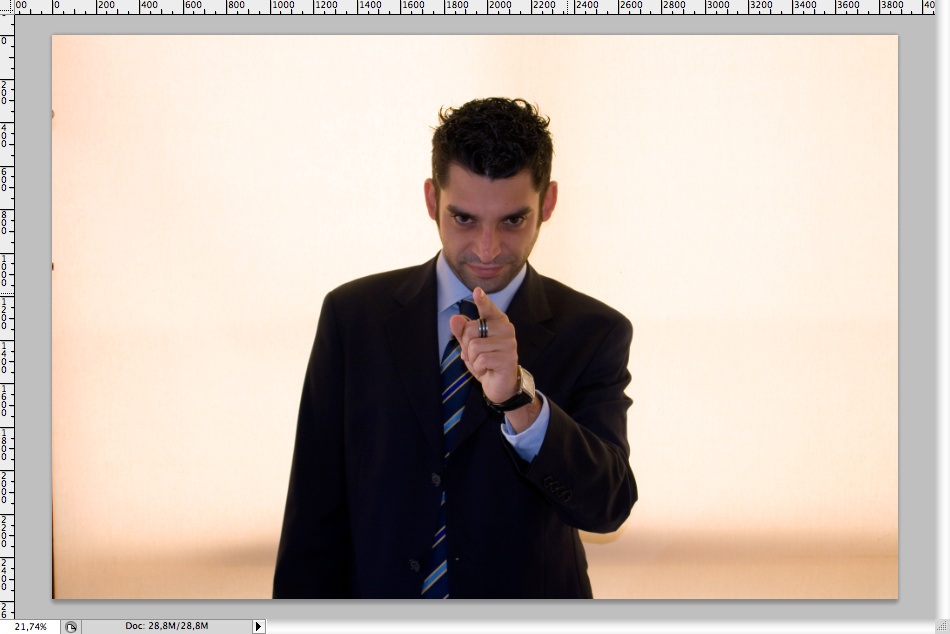
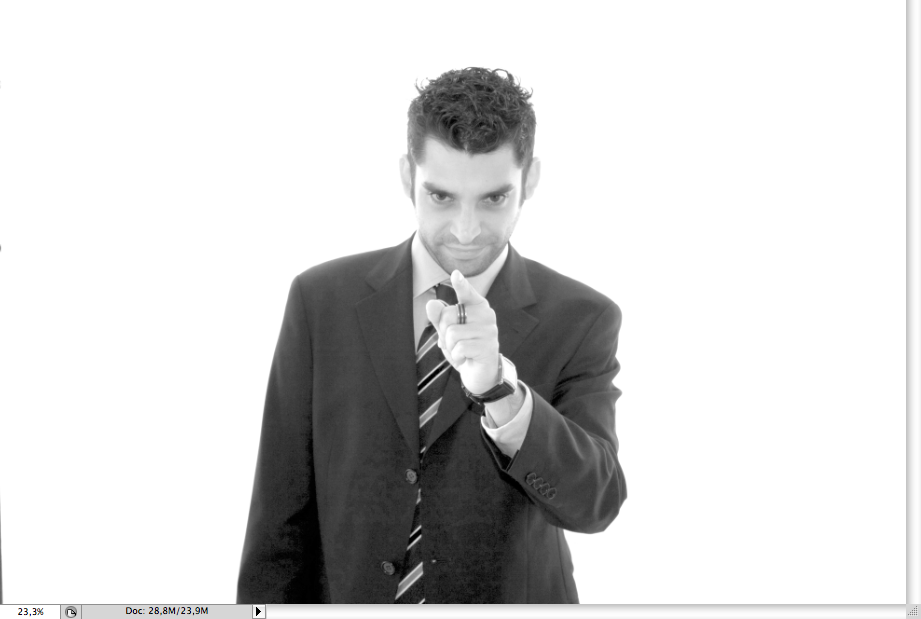
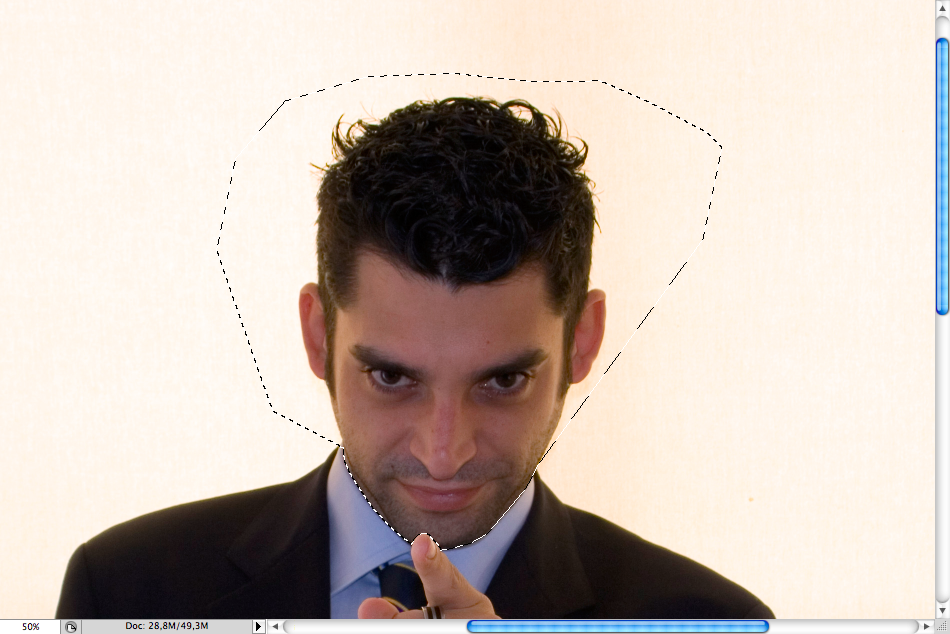
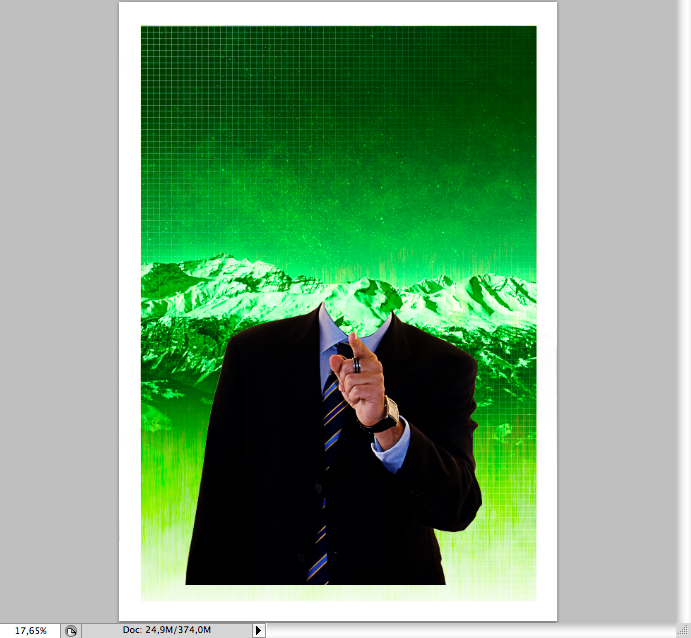
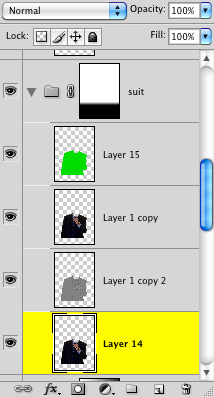
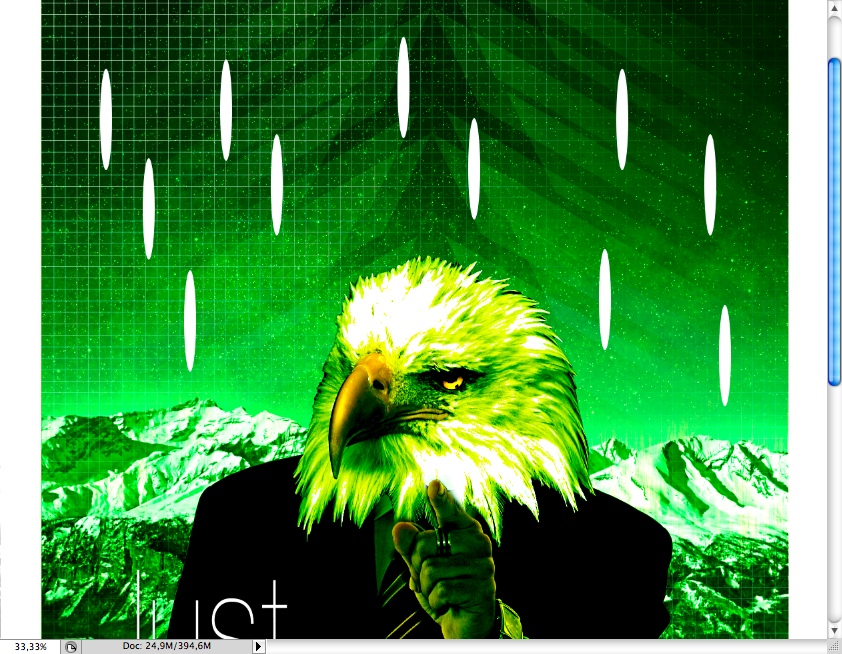
Step 5So one thing I always find important in a photomanipulation is to find the right picture for what you want to express, I mean, when I designed this poster I wanted a guy with a suit, then I found a couple of photos of this guy. But I really wanted to show the he was like preaching something, so I decided to use the one he's pointing the finger to the person who see it. You can download the picture here.
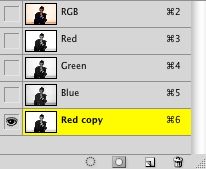
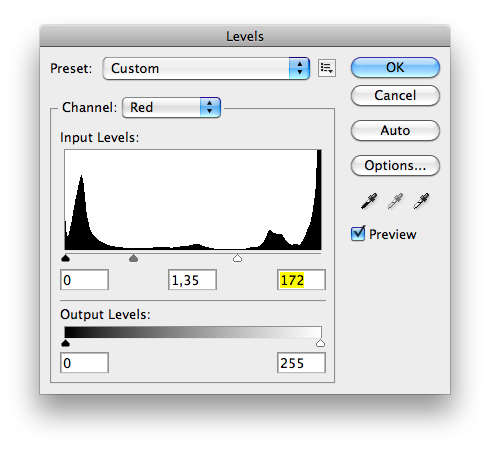
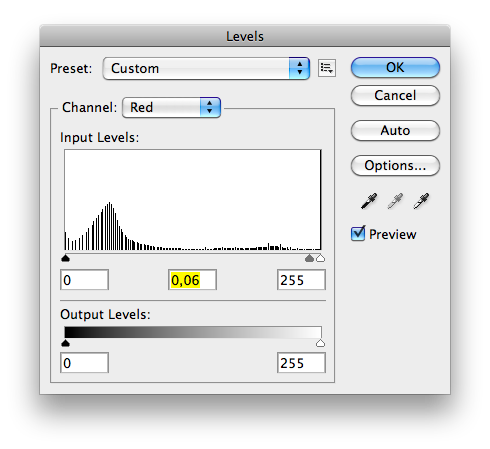
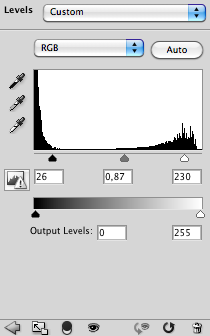
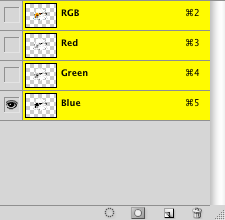
Go to the Channels panel and duplicate the red channel of this photo. Then access Levels panel (ctrl + L / command + L) and set it like the picture above
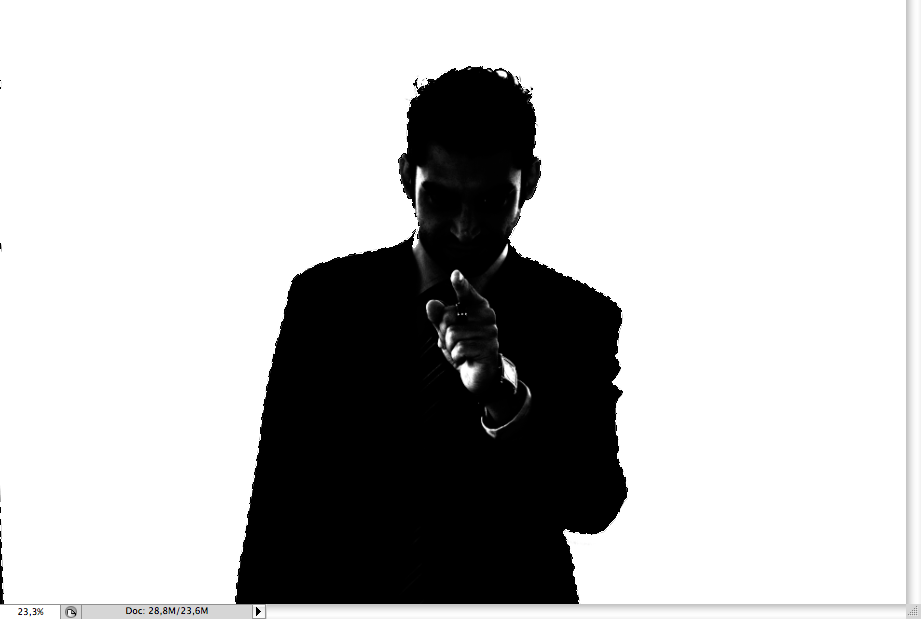
Again, go to the levels panel and set like the sample above. This will make the selection way more easier, just use the magic wand (W) to select the man (Yeah, I know the magic wand really sucks, but in some occasions you can use it).
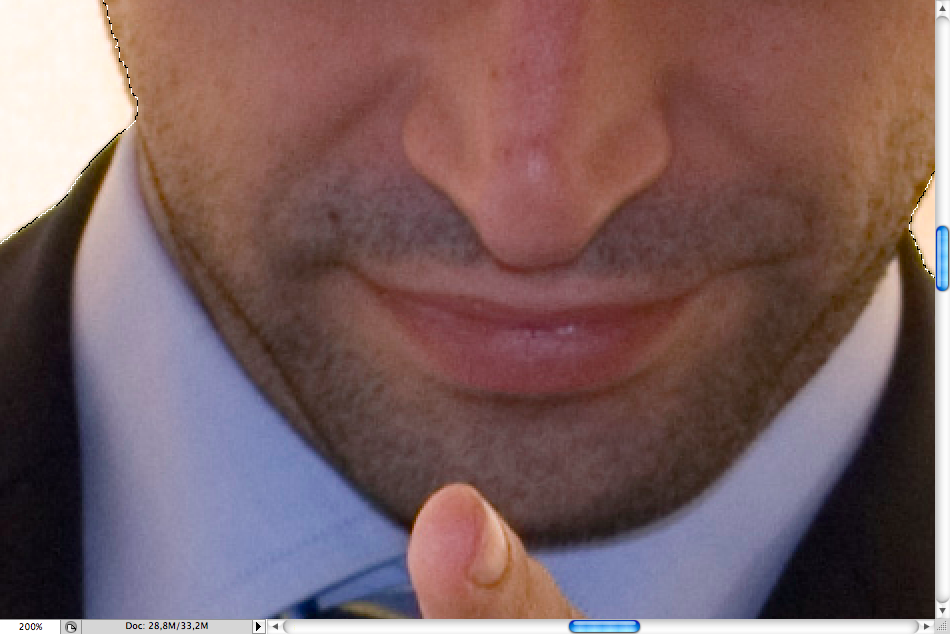
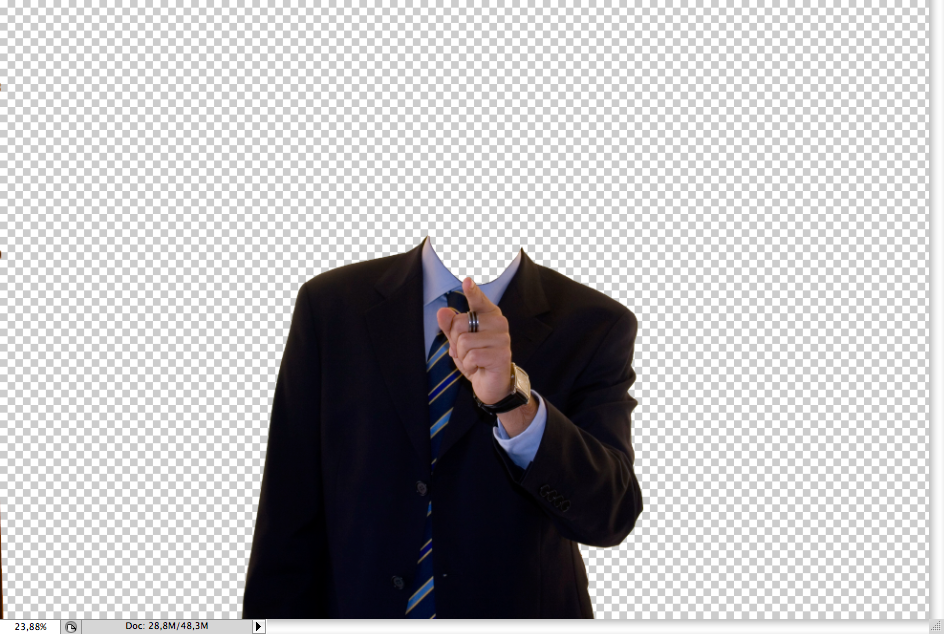
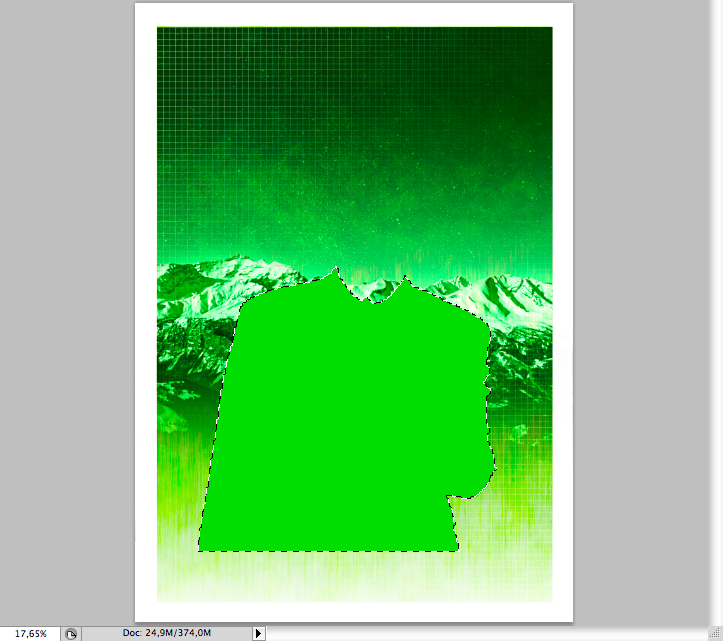
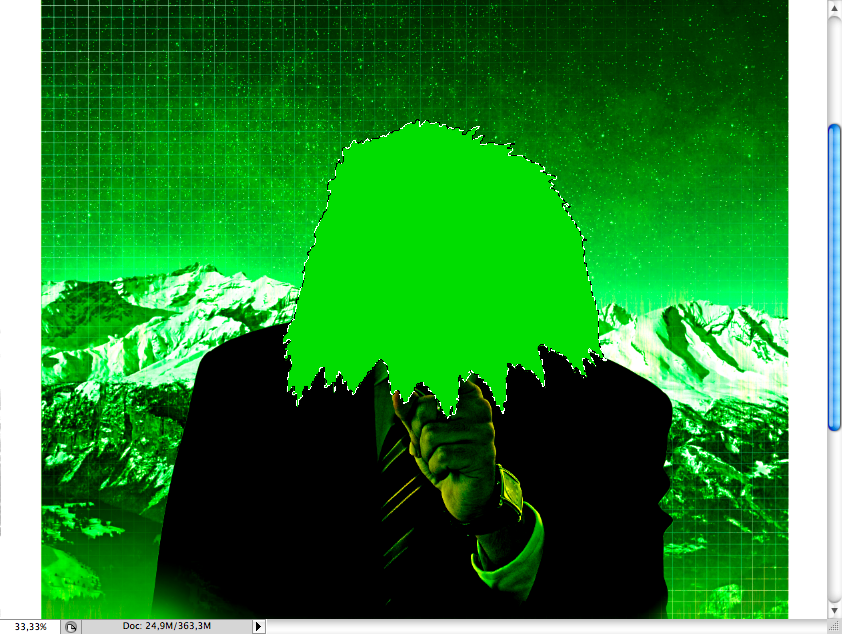
We have to take off his head, so use the lasso tool (L) to do it, be careful with his finger, we will need it.
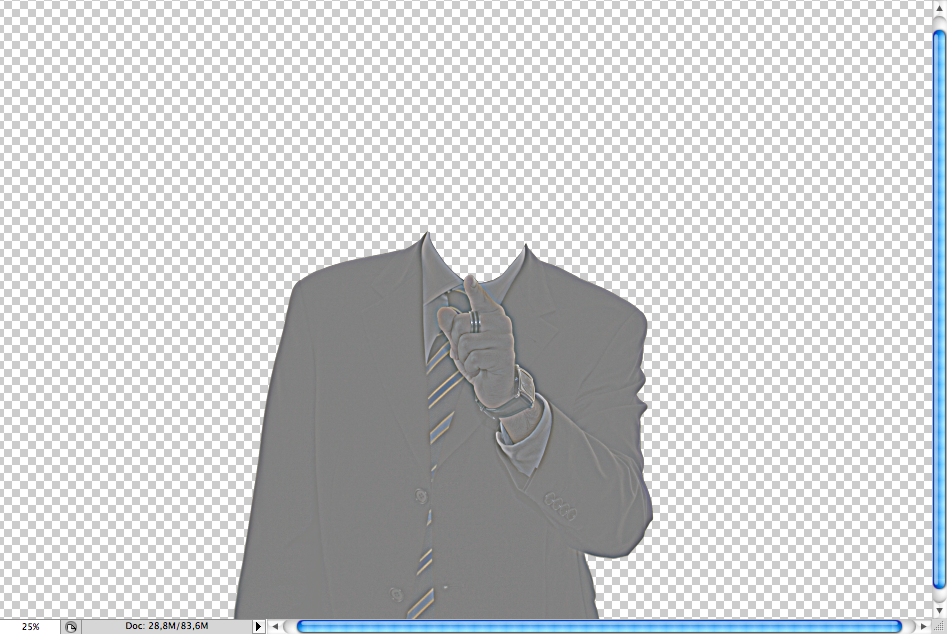
Repeat the procedure of th high pass filter and duplicating and then overlaying to enhance the picture. Then place it on the canvas.
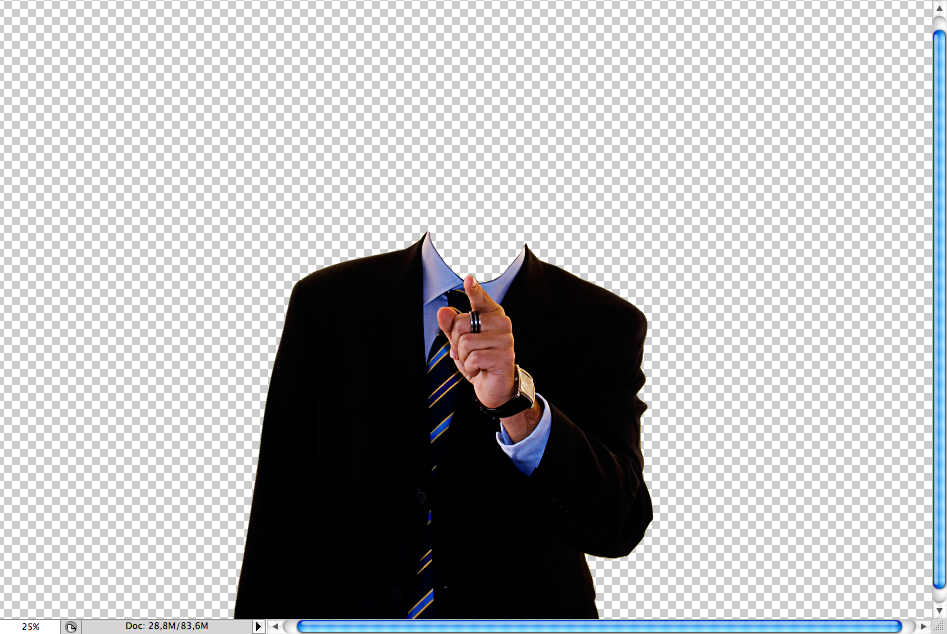
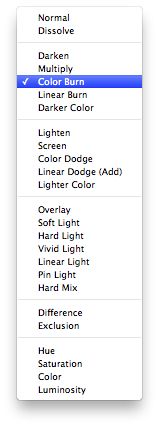
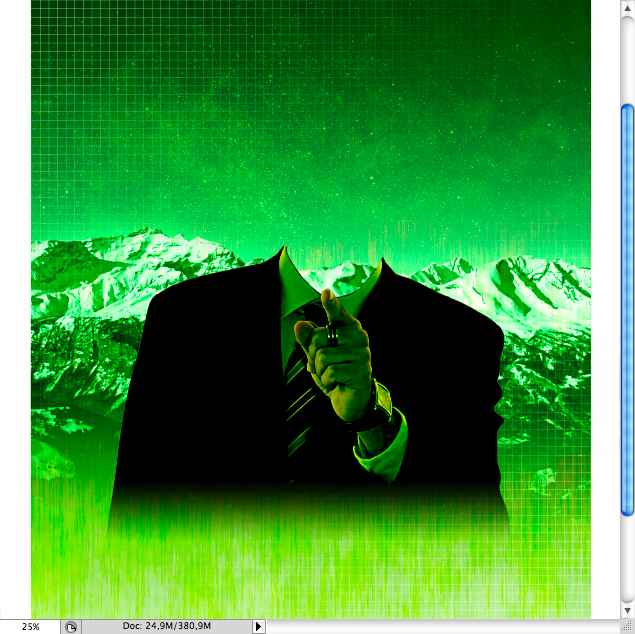
Create a new layer using the body's selection and fill it with green using the paint bucket tool (G). Then acess the blending mode panel and choose the option called Color burn
Make a group (ctrl + G / command + G) with all the body layers and make a layer mask, select it and using the gradient tool (G) make this gradient on the body. The layer order of this group should look like these.
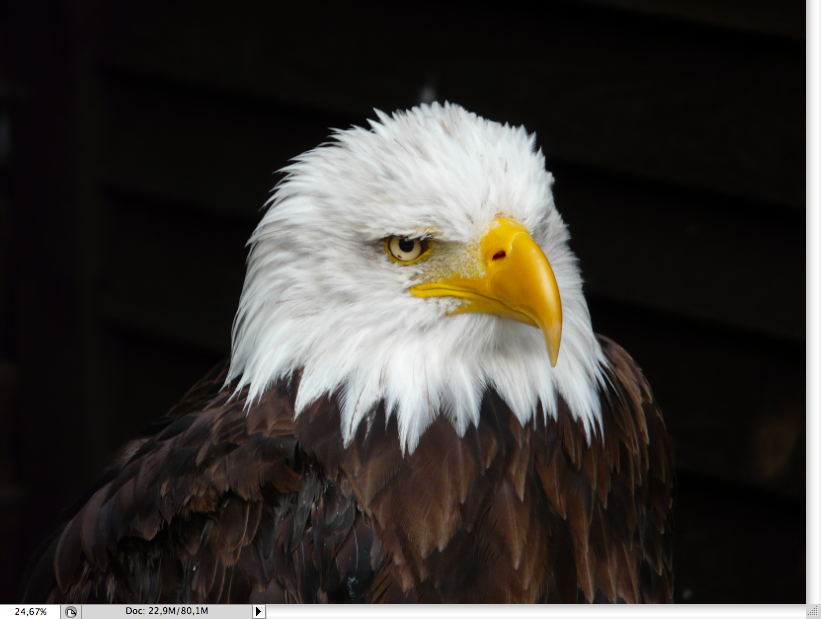
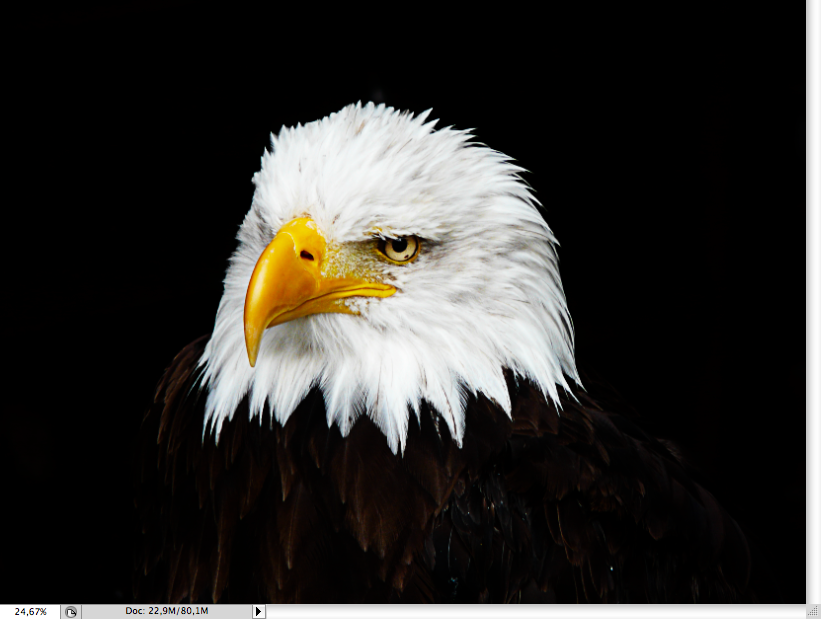
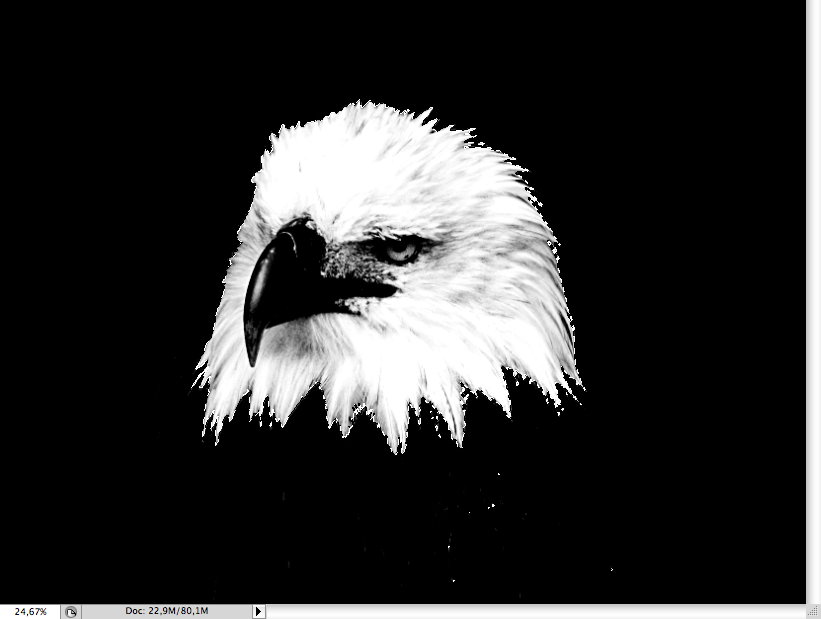
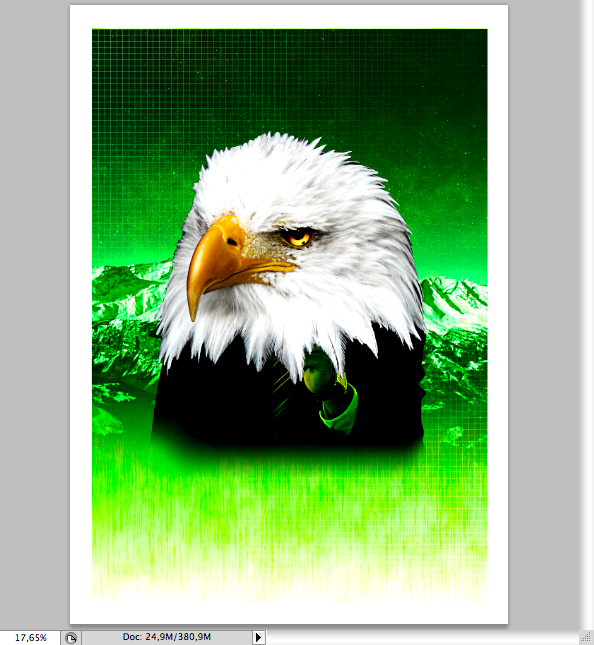
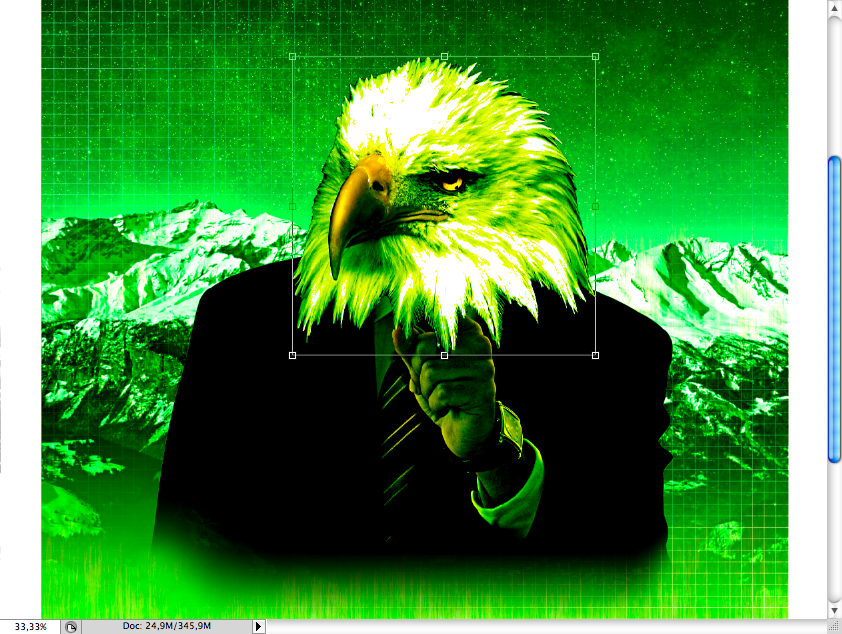
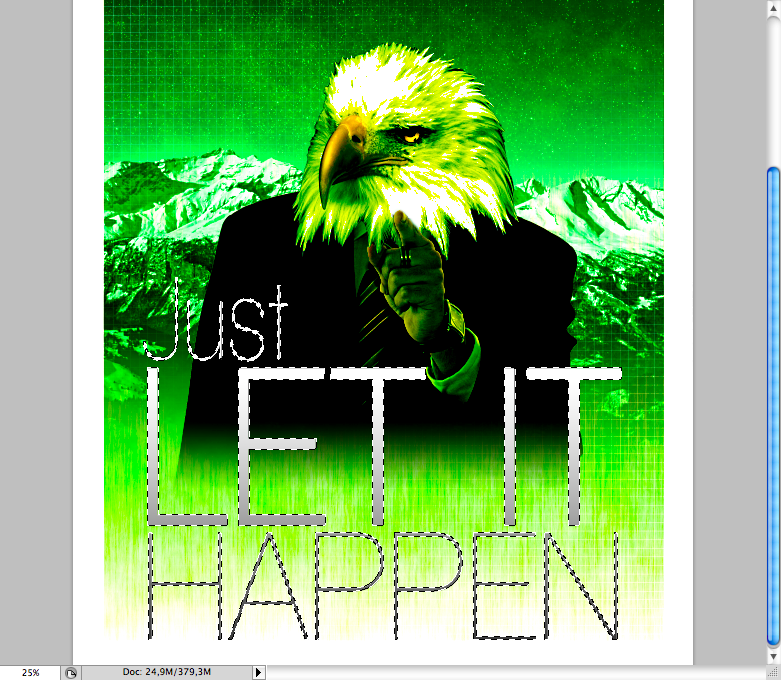
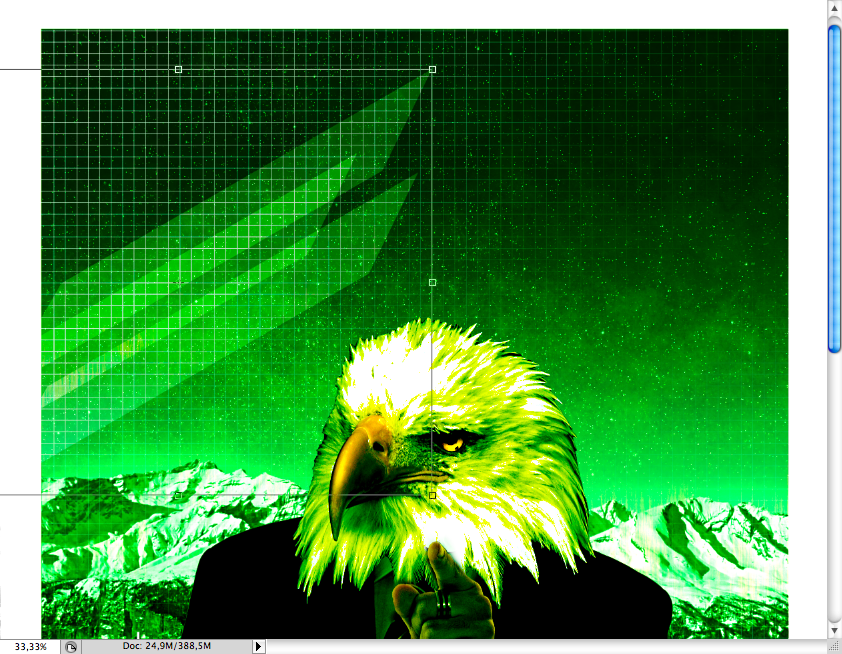
Step 6If the eagle head I had the same doubt to choose the pic as I had with the suitman. Stockimages sites have a lot of images so what exactly i wanted to be the expression of the eagle, well i wanted it to look more authoraty look, so I choosed this one. You can download this picture right here.
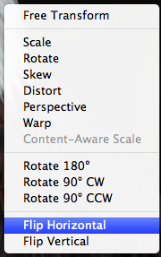
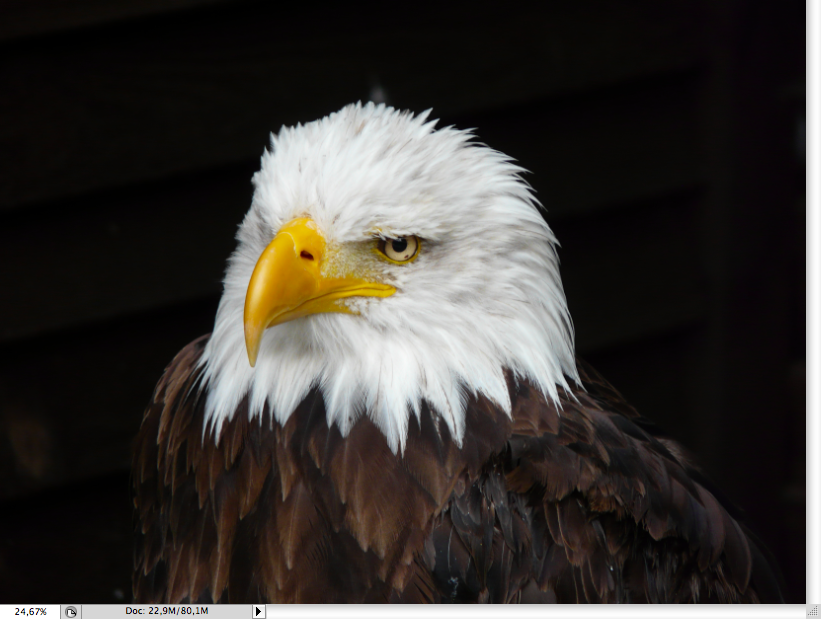
Open the photo on PS, first just flip it using transform (ctrl + T / command + T ) + right click . Repeat the procedure to enhance the image (High pass layer + soft light layer).
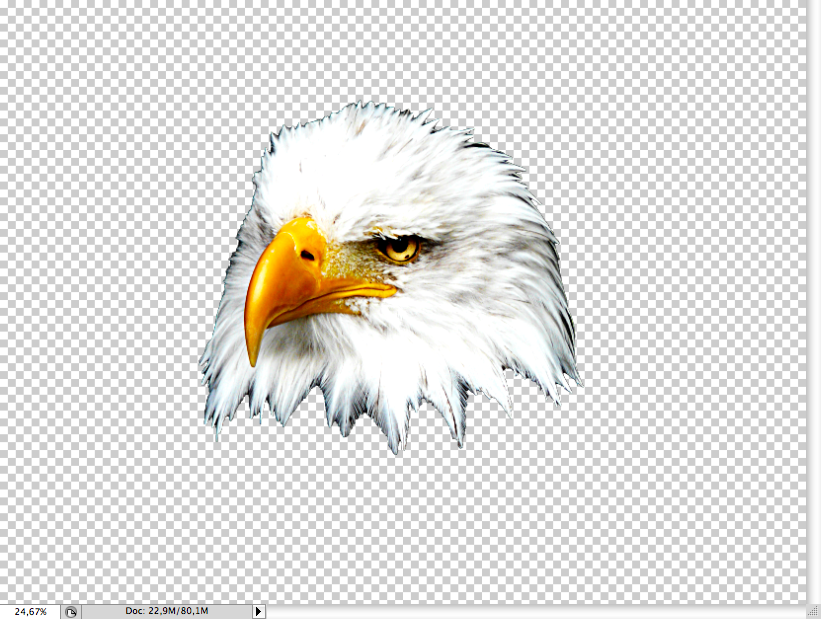
This is pretty similar to what I did on the previous step, but this time I din't made a copy of the channel and decided to apply this levels on the image, then I cutted the eagle's head off and pasted the whole group on the canvas.
Just repeat the same procedure of the previous step to get this green look.
Create a layer mask on the group and using the brush tool (B) make the hand appear. Your layer order should be like these, if you didn't get this effect maybe something is wrong on the order.
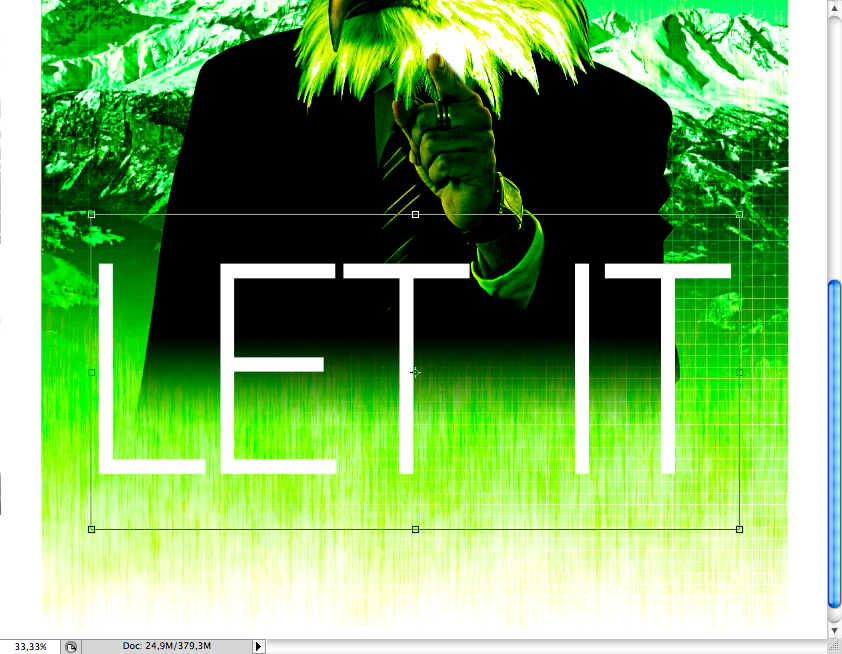
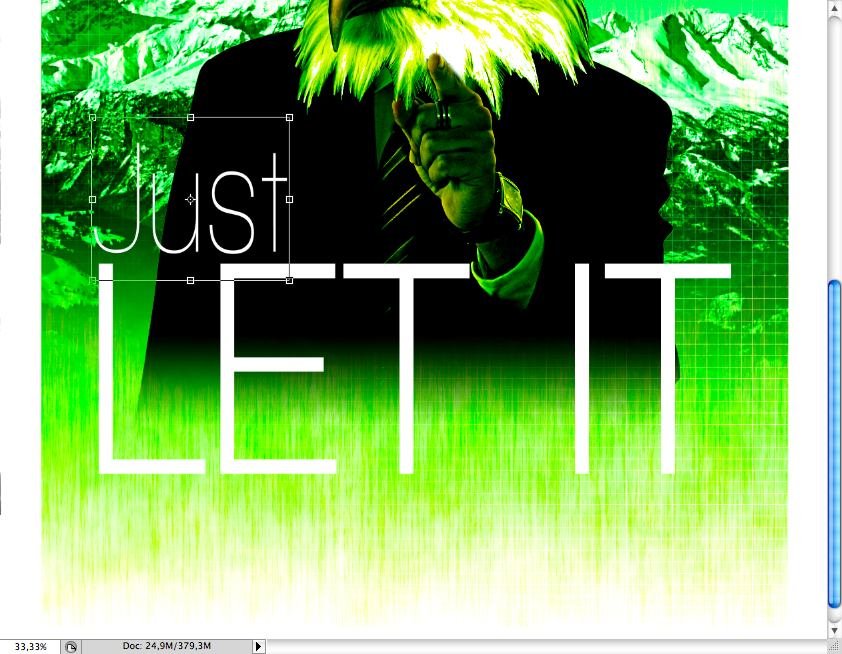
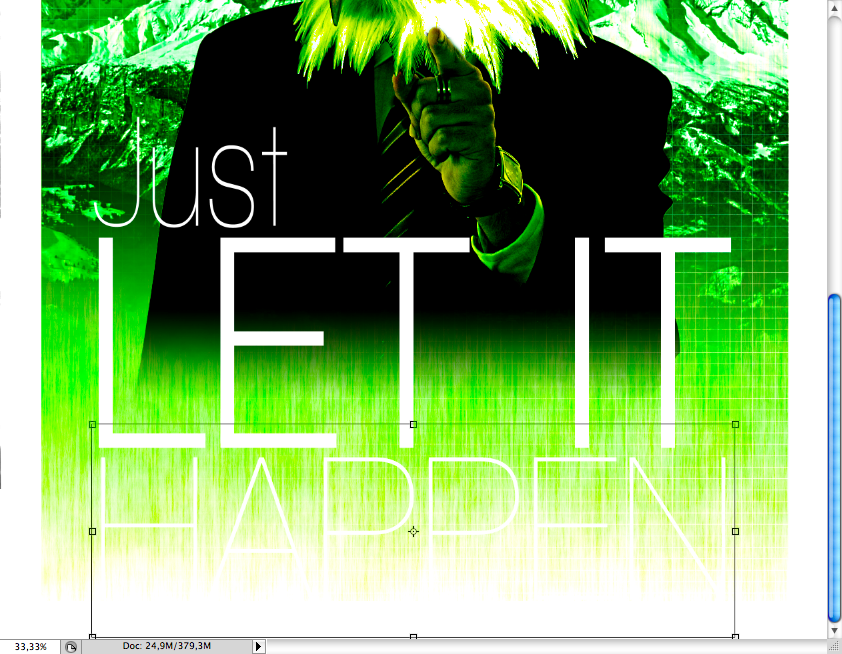
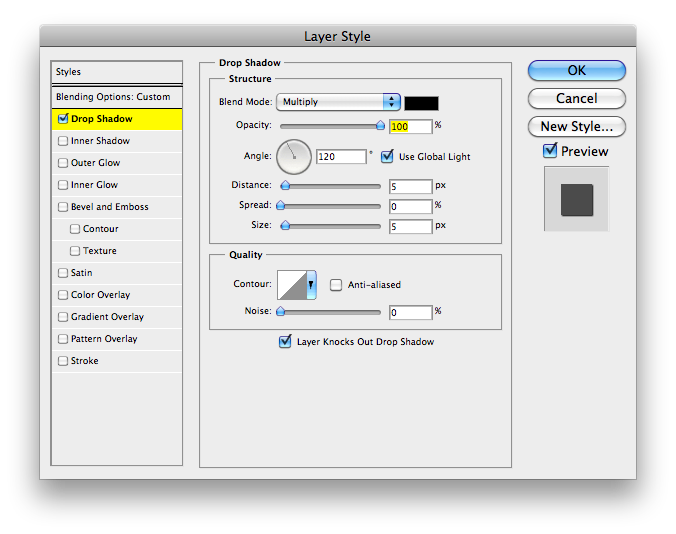
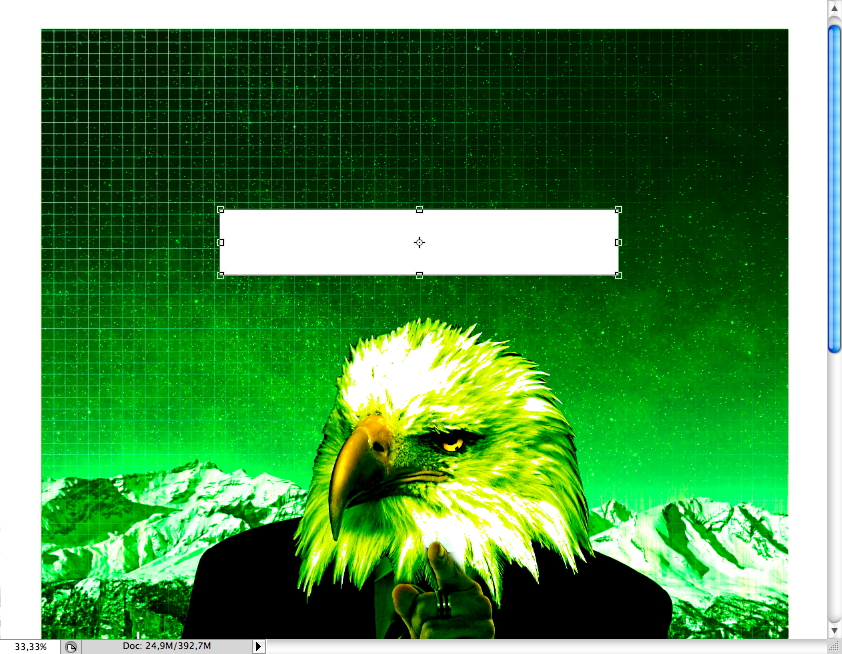
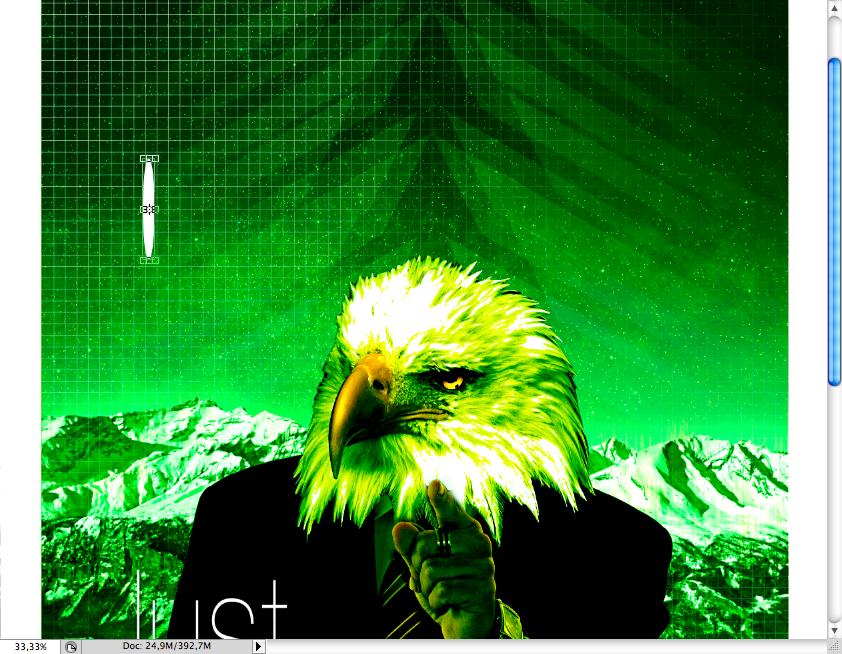
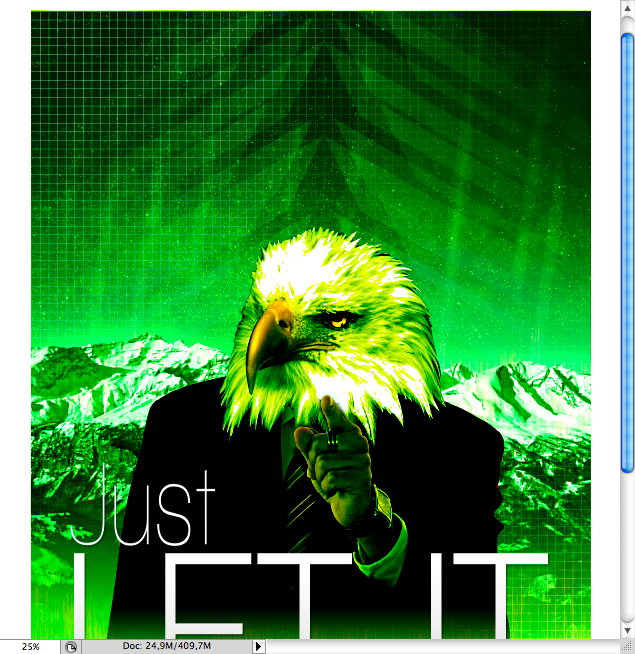
Step 7Pretty simple: using the text tool (T) write first "LET IT" on uppercase, then "Just" and then "HAPPEN", use the move tool (V) to place correctly. I used the walkway font, you can gra it here.
Make a new layer (ctrl + shift + alt + N / command + shift + alt + N ) and use the selection of the letters by clicking + ctrl/command + shift on the layers. Then add a gradient using the gradient tool (G) with the darkest part on the bottom. Add some thin drop shadow to it and set opacity to 50%.
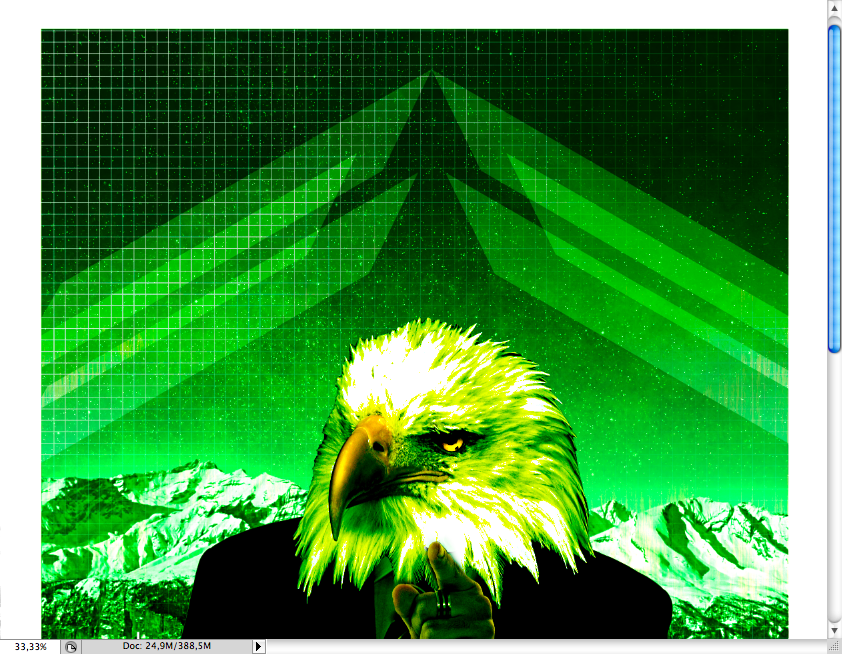
Step 8Let's create some shards, create this retangle using the rectangle tool (U), then using transform (ctrl + T/command + T) adjust is to look sharp.
Use the Soft light blending mode, then rotate the shard duplicate him, group and duplicate it again and flip it.
I added a layer mask to the group of shards and used a gradient on the layer mask, duplicate it again and got a pretty interesting effect.
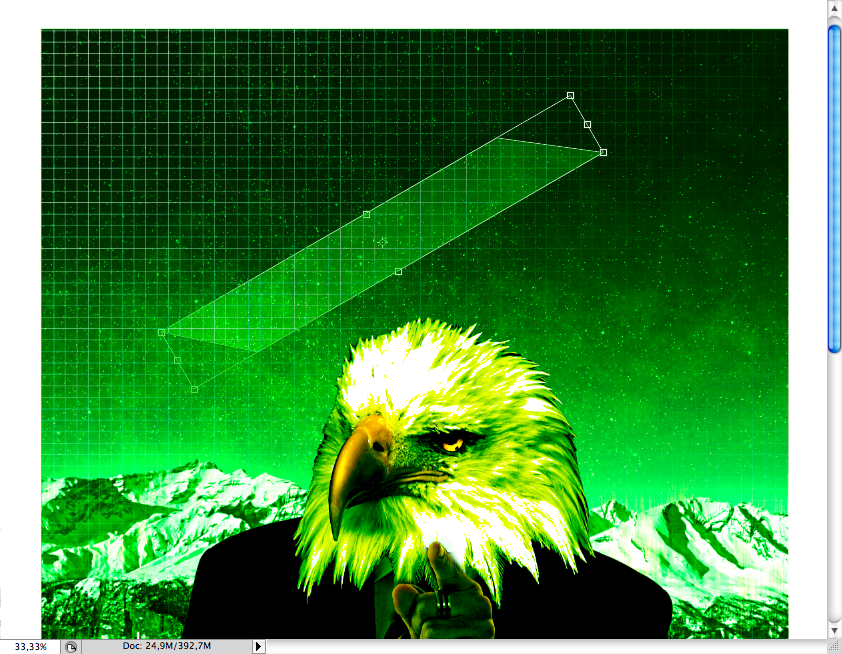
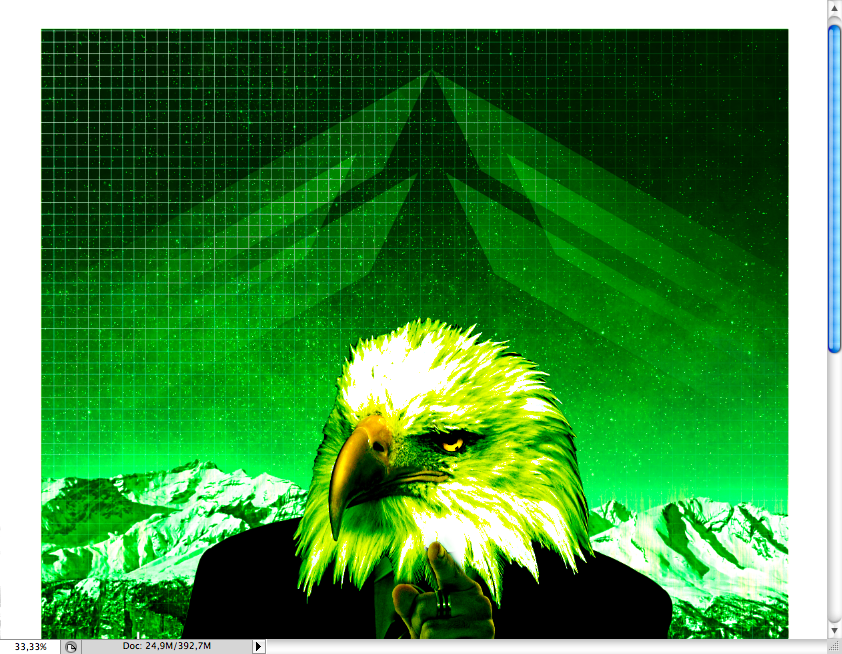
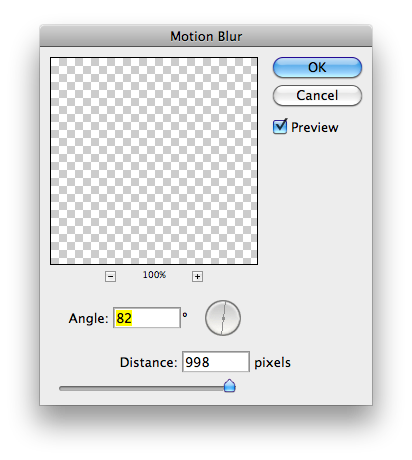
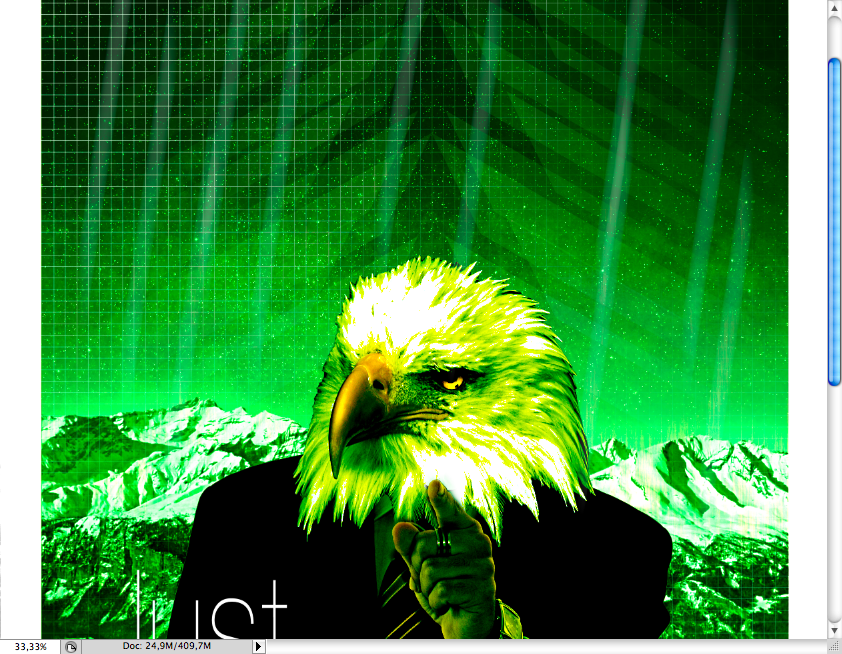
Step 9Quick tip: create ellpses using the ellipse tool (U), then go to Filter > Blur > Motion Blur and set angle to 82 and distance to 998 pixels. Use the overlay blending mode on it, duplicate it till you got this lightining effect.
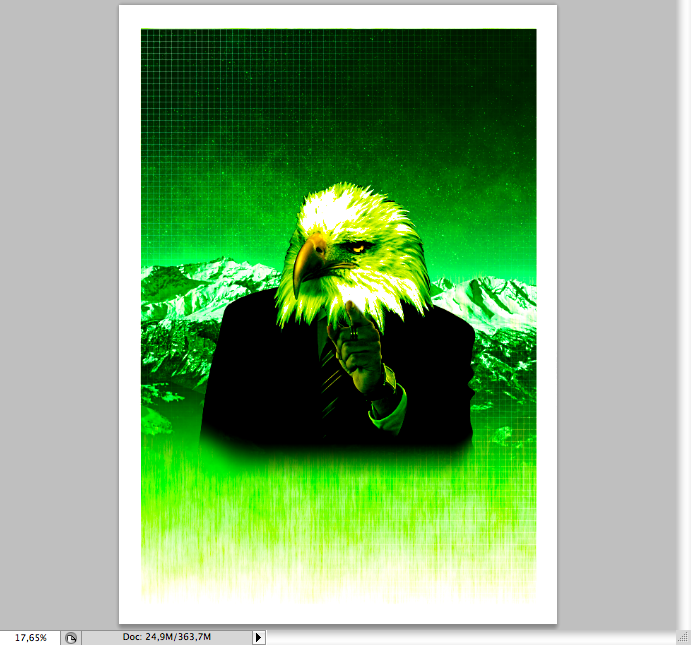
Final ResultSo let's compare the two version: the 2010 version and the 2011 version.
I really can decide which I find the best, I think they represent diferent moments of my career and so the results. Despite the tutorial, this is a really interesting experiment to do, try you too, get an old design and try to redo it with your style nowadays.
Download the filesCLICK HERE TO DOWNLOAD ALL FILES USED FOR THIS TUTORIAL |
| Posted: 20 Mar 2011 09:01 PM PDT
We've seen some great gadgets and equipment for designers. So many cool stuff, that we could actually assemble infinite perfect office spaces! Every week we'll assemble a perfect office, and we'd like you to help us. What equipment would the perfect office have?<!--break--> Not only gadgets and equipment, but also furniture, sound system, gaming stuff (for lunch time!). A designer is totally allowed to dream with the perfect office, and that's what we're gonna do here! Also, tell us your suggestions, or even better, you may tell us via twitter (mine and fabio's), using #abdz_ofc so we can check it. Alright? I hope you guys enjoy this brief selection. Cheers! ;) BeyerDynamic T50P Headphones The closed cups make sure any background noise is kept to a minimum and very little sound is leaked to your surroundings. The soft pads around the cups are comfortable against your ears and the stainless steel headband is cushioned by a leather pad where it touches your head. (at 7 Gadgets) The Computer Arm Rest The Computer Arm Rest can be attached to your desktop or chair armrest simply and conveniently. Proper use of the ARM REST significantly reduces the amount of postural stress that people experience when using their mouse. (at 7 Gadgets) Grid-It Organization System A weave of elastic bands made to hold your gadgets and personal objects in place. It can be used in many different configurations, and it's designed to fit nicely in your laptop bag or travel bag. (at Holy Cool) Brain Light Bulb The Insight light bulb concept by solovyovdesign. Change tubes of a compact fluorescent bulb into the folds of a brain. (at Like Cool) Logitech Z906 Speaker System Boasting THX certification and 500 Watts of RMS power, the Z906 includes five wall-mountable satellite speakers, a ported, side-firing subwoofer, an easy-to-read console with digital and analog inputs as well as DTS and Dolby Digital 5.1 decoding, and the obligatory remote control. (at Uncrate) Dell Inspiron R notebooks Under the hoods of these Dell Inspiron Notebooks are several high end features including - a 2nd generation Intel Core i3/i5/i7 processor with up to 8GB of RAM, 6-cell or 9-cell battery options, SRS Premium Audio, high definition video performance, full 1080p video wireless projection through Intel Wireless Display technology, Blu-ray 3D movie playback support, HD capable webcam, chicklet-style keyboard, and Windows 7 Home Premium or Windows 7 Professional for OS options. (at Gadgetell) |


.jpg)
.jpg)


| You are subscribed to email updates from Abduzeedo | Graphic Design Inspiration and Photoshop Tutorials To stop receiving these emails, you may unsubscribe now. | Email delivery powered by Google |
| Google Inc., 20 West Kinzie, Chicago IL USA 60610 | |
Tidak ada komentar:
Posting Komentar