Abduzeedo - graphic design | design inspiration | tutorials - |

- Famous Games Illustrations by Xavier Thomas
- Daily Inspiration #733
- VisualFreaks: Tron Artpack Giveaway
- What's in your Mind?
- Radar Icon in Pixelmator
- Art Saves - Projeto Região Serrana
- The Perfect Office #74
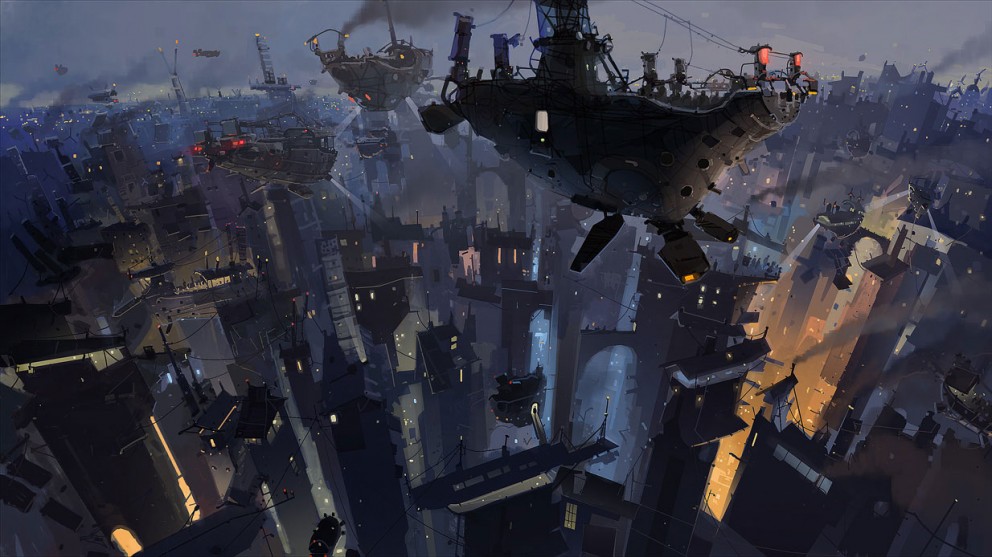
| Famous Games Illustrations by Xavier Thomas Posted: 31 Jan 2011 06:00 PM PST
Recently I've bought a Xbox 360 and I'm kinda addicted to Assassin's Creed 2. That said, it's amazing for me to find official concept arts of that game and a few others that I enjoy.<!--break--> Xavier Thomas is a canadian illustration and the man behind the box arts of some games like Driver: San Francisco, Assassin's Creed, Assassin's Creed 2 and some others. Gotta love these! For more of his work, you may visit his portfolio at Behance. I hope you enjoy these! Cheers. ;) Assassin's Creed Assassin's Creed Assassin's Creed Assassin's Creed 2 Assassin's Creed Concept Art Prince of Persia Prince of Persia Prince of Persia Driver - San Francisco Splinter Cell Conviction |
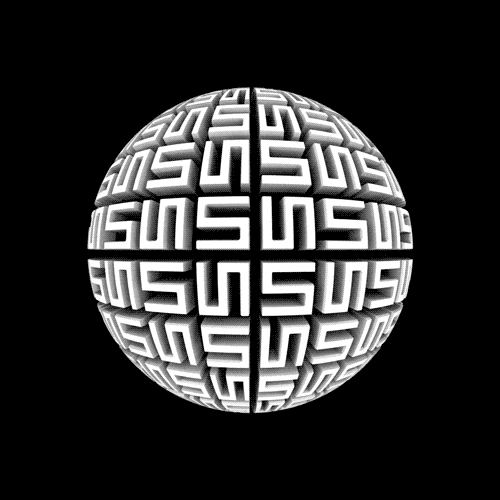
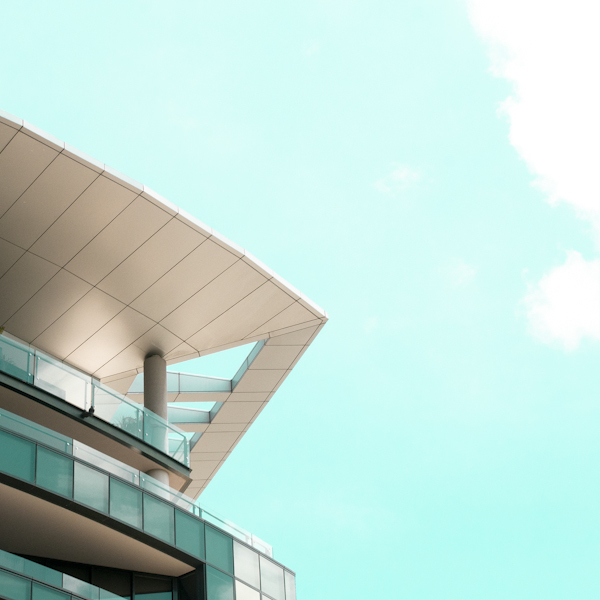
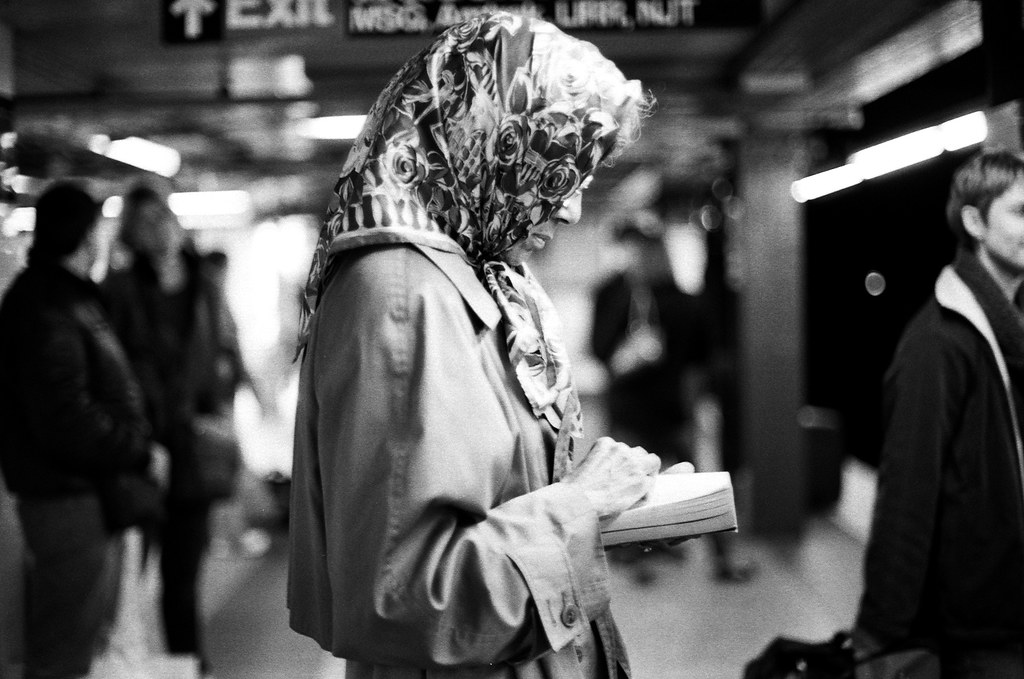
| Posted: 31 Jan 2011 10:52 AM PST
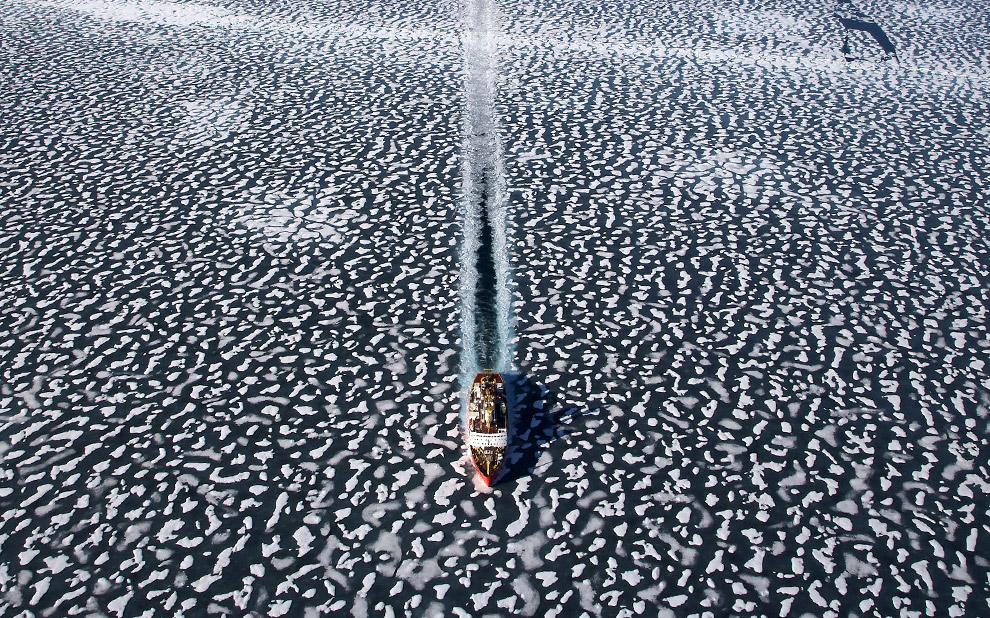
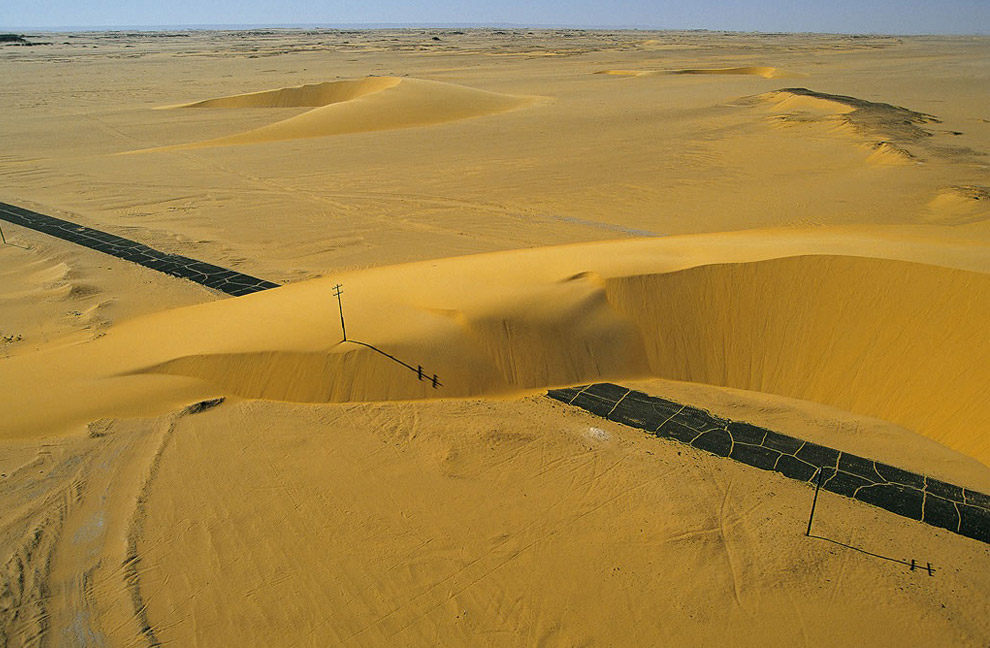
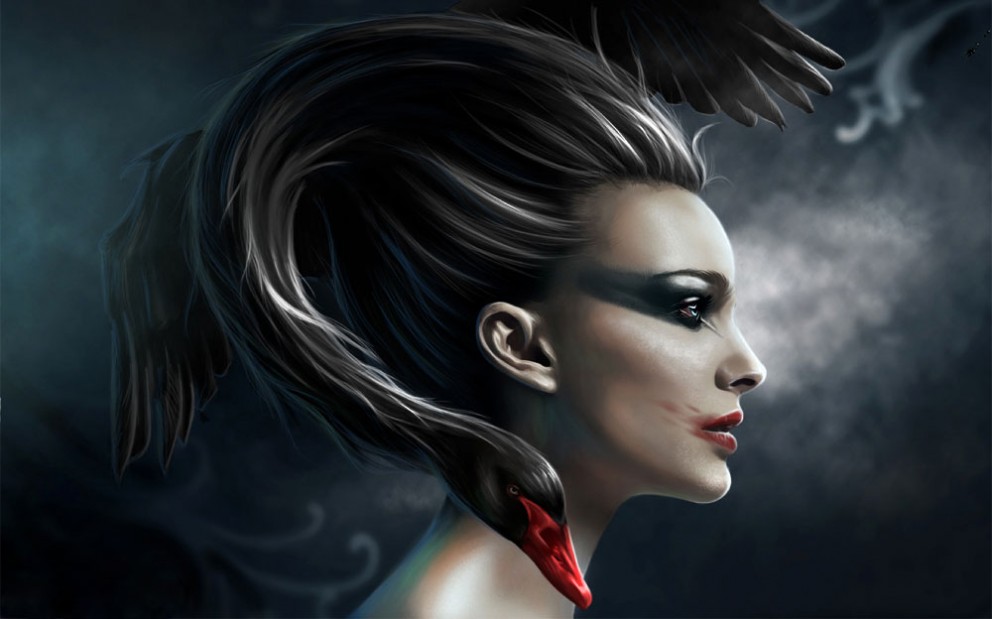
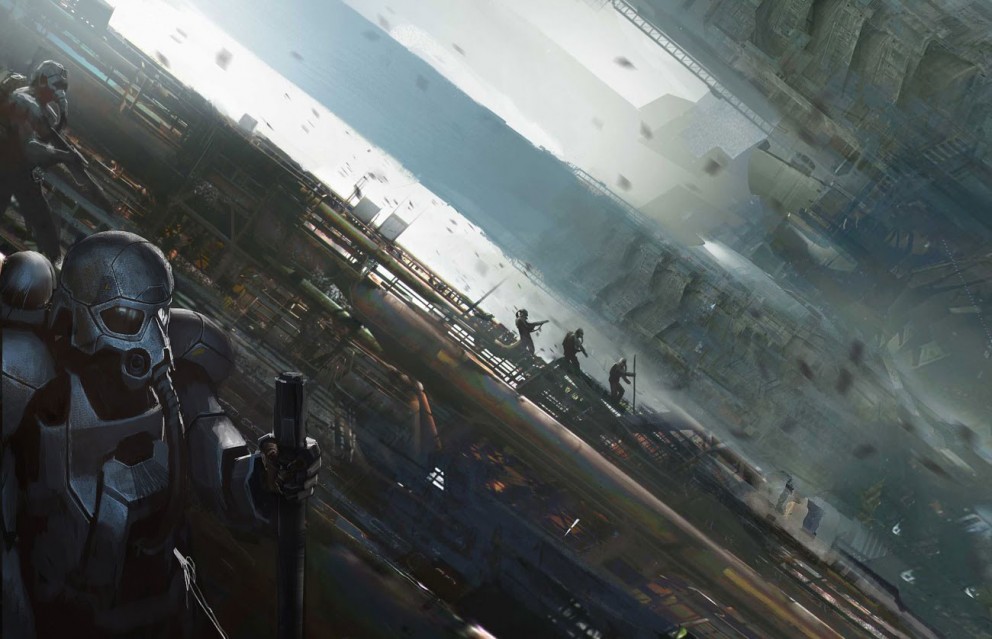
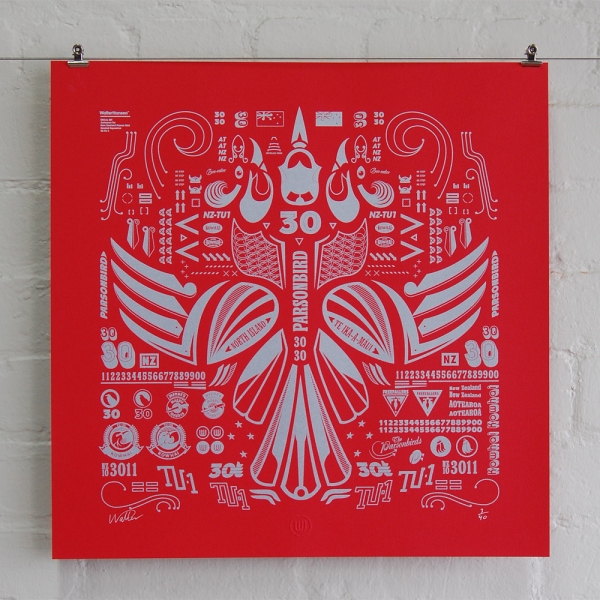
This post is part of our daily series of posts showing the most inspiring images selected by some of the Abduzeedo's writers and users. If you want to participate and share your graphic design inspiration, just send us, via email, the image with the link from where you found it, also use "Daily Inspiration" in the subject, and don't forget to send your Abduzeedo username; or via Twitter sending to http://twitter.com/abduzeedoIf possible use the HTML code: <p class="imgC"><a href="Link to the page you found the image"><img src="Link to the Image" /></a></p> Do you want to see all images from all Daily Inspirations? Check out http://daily.abduzeedo.comal b sure
Alex Frolov
Arthur Presser
Best Bookmarks
coolvibeblog
David Miller
eugene kim
Fabiano
Fabio
Elisa - 8mm from fabio sasso on Vimeo.
fksd
Flyerfolio
Frank
Gisele
HdK
Hysterical MindsKevin Roodhorst
Lysgaard
meskalART
Newyorkiz
Nicolas Raybaud
oxana
Romeo Nicoloso
shelbywhite
strivera
tehPaperCut
Zé Mário
Via TwitterSend your suggestions via Twitter to http://twitter.com/abduzeedo using #abdz in the end of the tweet. @inair79
@fechnerk
@lucasjubb
@francomathson
@Nervewax@alemdasideias
@marcos333
@daniel_nelson
@stiXits
|
| VisualFreaks: Tron Artpack Giveaway Posted: 31 Jan 2011 06:24 AM PST
Since Disney's remake of Tron hit the cinemas, the design scene is geeking for more space-effects. Thanks to the guys over at Visualfreaks.com you can design your own Tron poster now: Get the free artpack here<!--break-->
VisualFreaks is a high-end project started by a group of graphic designers.
Free Tron Art PackVisualFreaks prepared an mini Artpack exclusive for Abduzeedo.
Download the free Tron Artpack
Download the Wallpaper
Resolutions: |
| Posted: 31 Jan 2011 05:29 AM PST
This is a project is actually called "Missing Garden" by the photographer Dominik Smialowski with drawings of his friend Monika Prus. The works are reflection of nostalgia for childhood it's also a modest rebellion against adult life and small glorification of being child.<!--break--> About the authorHi there! I'm Paulo Canabarro, 25 year old web designer from Brazil currently living in Providence RI, USA. I'm truly passionate about design of all kinds. Finding and sharing inspiration has become part of my life. If you have any suggestions or requests just get @ me - pvpcanabarro@gmail.com For some cool stuff make sure to Follow me on twitter! Sponsored Links:
|
| Posted: 31 Jan 2011 04:27 AM PST
A few weeks ago I showed you how to create a Mac style icon using Photoshop. It was a radar one inspired by the Network Utility icon. As I like to play with all tools I decided to give it a try in Pixelmator as well.So, in this tutorial I will show you how to create a beautiful Mac style icon using Pixelmator. I will show you how to create some bevels and light effects that are very characteristic of these icons. Step 1Open Pixelmator and create a new document, I'm using 1024x1024 pixels. After that fill the background with a dark grey and add some noise using black for the background. Once you have the background with the Ellipse Marquee Tool (M) create circle and fill it with a 50% grey. Step 2Duplicate the circle and then go to Edit>Free Transform and resize it so it's slightly smaller. After that go to Edit>Load Selection to create a marquee selection of the smaller circle. Step 3Select the big circle with the marquee selection active and hit the Delete key to delete that area of the big circle. If you hide the small one you will have a result like the image below. Step 4Duplicate the grey border we created in the previous step and change the Blending to Screen in order to make it lighter. Step 5Duplicate the border again and fill it with black then, there are 2 ways to do that, once is using the Paint Bucket Tool (N) and the second one, which I prefer is to go to Filter>Color>False Color. Then just make sure that you have black as the background color before applying this filter. After that go to Filter>Blur>Gaussian Blur. Use 15 for the amount. Then move it down a little bit. Use the image below for reference. Step 6Duplicate the grey border again and use the fake color filter but this time to convert it to white. Then go again to Filter>Blur>Gaussian Blur. Use 15 again for the amount. After that resize it a little bit in order to make it a slightly smaller. Another thing you will have to do here is this, add a new layer and fill it with black, this layer will be beneath the white border. After that merge the two layers and change the blending of the merged layer to Linear Dodge. Step 7Group all layers used to create the metallic border. After that create another circle that will be the center of our radar. Use black for the color and it will be beneath the border group. Step 8Go to View>Show Gradient. Create a new gradient preset and then use radial for the type and for the colors use black and #926007 for the center color. Step 9Duplicate the black circle in the center and resize it in order to make it slightly smaller. After that go to Edit>Load Selection. Then with the Gradient Tool (G) fill the circle with the gradient where the center will be at the bottom of the circle. Use the image below for reference. Step 10Add a new layer and with the Brush Tool (B) and with a very soft brush and #926007 for the color paint a light spot on top of the center of the circle with gradient. Notice that the circle marquee selection is still active. Step 11Add a new layer on top of the previous two layers. Now with the Brush Tool (B) and still with the same very soft round brush, use black to paint on the sides of the circle in order to create some depth. Step 12Add a new layer then fill with black. With the Rectangular Marquee Tool (M) create a thin rectangle and fill it with white in order to create a line. Step 13Go to Filter>Blur>Gaussian Blur and use 2 for the Radius. After that change the Blending to Color Dodge. You will get a really nice light effect. Duplicate this layer and rotate it 90º. Step 14Duplicate both layers and apply more gaussian blur to them in order to create a glow. Step 15Duplicate the black circle that we created in the step 7 then change its order so it is on top of the others. After that resize it so it will be much smaller like the image below. To create the light effect is very simple. The circle will be black already so go to Edit>Stroke. Use a inner stroke of 3 in white. After that change the Blending of the layer to Color Dodge and apply a Gaussian Blur of 2 or 3 for the radius. You can also duplicate this layer and apply more blur to create the same glow as we did in the previous step. Step 16Repeat the same thing we did in the previous step to add another white stroke circle. Step 17Add a new layer and fill it with Black. Notice this layer will be on top of the others but beneath the metallic border. After that with the Brush Tool (B) and a very soft and round brush create some white spots. Step 18Change the Blending to Color Dodge and you will have a super cool light effect. Step 19Add a new layer and with the Rectangular Marquee Tool (M) create a rectangular selection and fill it with black, after that create a thinner rectangular selection over the black area and fill it with white. Change the Blending to Color Dodge and go to Filter>Blur>Gaussian Blur. Use 5 for the radius. After that just go to Edit>Free Transform and rotate it 45º, then align it as I did in the image below. Step 20In order to create a sort of ghost tracking light effect for that rectangle as it is rotating let's use the Gradient Tool (G). Create a new gradient preset using Angle for the type and black and white for the colors. Once you have the gradient preset, add a new layer and create a circle the same size as the radar center one. Then fill this circle with the gradient we created. Rotate it so the white part is exactly over the rotating bar. Step 21Add a new layer on top of the other radar elements but beneath the border. Then create an elliptical selection of the center circle, just select the center circle and go to Edit>Load Selection. After that select the new layer and then with the Rectangular Marquee Tool (M) change the type to ellipse and then holding ALT create another selection a little bit below the center of the previous selection. Use the image below for reference. Step 22Fill the selection with white and reduce the opacity to 10% and you have created a nice glossy effect. ConclusionSelect all the layers used to create the center area of the radar and duplicate them, after that merge the duplicated layers into one and go to Filter>Blur>Gaussian Blur. Use 15 for the radius and then change the Blending to Screen at 50% Opacity. That will increase the glowing effect. As you can see, we created a very Mac style icon using Pixelmator only. We didn't have any specific filter for bevels but there's always ways to overcome that. Now it's up to you. Download the Pixelmator FileClick here to download the Pixelmator file used for this tutorial |
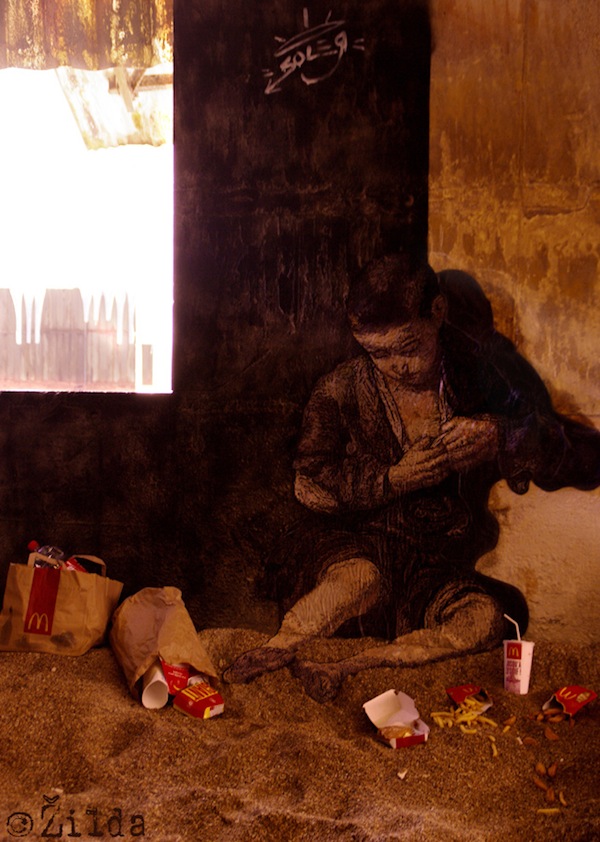
| Art Saves - Projeto Região Serrana Posted: 31 Jan 2011 03:15 AM PST
Thinking that art can really save, Urban Arts and artists Guilherme Marconi and Eduardo Recife joined forces to create a really nice project, the "Projeto Região Serrana" (PRS) - a initiative that will donate 100% of sales from products of recognized artists to help the cities destroyed by the rain in Rio de Janeiro. The PRS counts with the participation of UA artists and other guests invited specially for this occasion.Take part of this cause of Art and Solidarity. Buy an art and spread the word about PRS! Art can save, but to do that your help is an important part of the process. We really like ideas like this one and we feel proud of taking part on it. Art and solidarity can really save... so we count on you to spread the word. =) Check out some arts from the "Projeto Região Serrana" e visit Urban Arts to see the complete list of arts/artists of this initiative and take your part on this. ;)
International purchases will be available soon. |
| Posted: 30 Jan 2011 06:00 PM PST
We've seen some great gadgets and equipment for designers. So many cool stuff, that we could actually assemble infinite perfect office spaces! Every week we'll assemble a perfect office, and we'd like you to help us. What equipment would the perfect office have?<!--break--> Not only gadgets and equipment, but also furniture, sound system, gaming stuff (for lunch time!). A designer is totally allowed to dream with the perfect office, and that's what we're gonna do here! Also, tell us your suggestions, or even better, you may tell us via twitter (mine and fabio's), using #abdz_ofc so we can check it. Alright? I hope you guys enjoy this brief selection. Cheers! ;) eBoy New York Pixorama Cushion A cushion featuring eBoy's famous pixel art. Pictured above is New York Pixorama. Also available in a Los Angeles Pixorama and Baltimore Docks. (at Holy Cool) Klock-01 "Mr. Kartono's newest design, this hand-crafted clock is made in his Indonesian farming village, following the best sustainable practices in materials and production. Part retro, part contemporary, a timeless time piece." (at Holy Cool) Inflow Table The special structure of the table enables to put all your objects inside. The shape comes from the material itself, like a loose rubber band. The Inflow table is made of approximately 1000 meters of an elastic string wrapped around a metal structure. (at 7 Gadgets) NES Hard Drives Vintage NES games that have been recreated into hard drive enclosures. What you get is a 1 TB hard drive enclosed in any of your favorite classic NES game, it even comes with the game sleeve to protect your hard drive! (at Holy Cool) R2-D2 Headphones If you're shopping for a Star Wars fan and have already been through The Best Gifts for Star Wars Fans but need more suggestions, these R2-D2 Headphones from Coloud would look nice on anyone's head while they're relaxing by the pool in an R2-D2 Bathing Suit. The headphones are part of Coloud's Star Wars product line, which features other headphones with Imperial Stormtroopers, Darth Vader, or an X-Wing fighter on the earcups. The headphones have a foldable hinge for portability, and have a microphone and volume remote in-line with the audio cable so you can use them with your mobile phone as well as your music player or laptop. (at Gearlog) |


| You are subscribed to email updates from Abduzeedo | Graphic Design Inspiration and Photoshop Tutorials To stop receiving these emails, you may unsubscribe now. | Email delivery powered by Google |
| Google Inc., 20 West Kinzie, Chicago IL USA 60610 | |
Tidak ada komentar:
Posting Komentar